Featured Build · Complete
REGALIA Hardwood Floor Install.
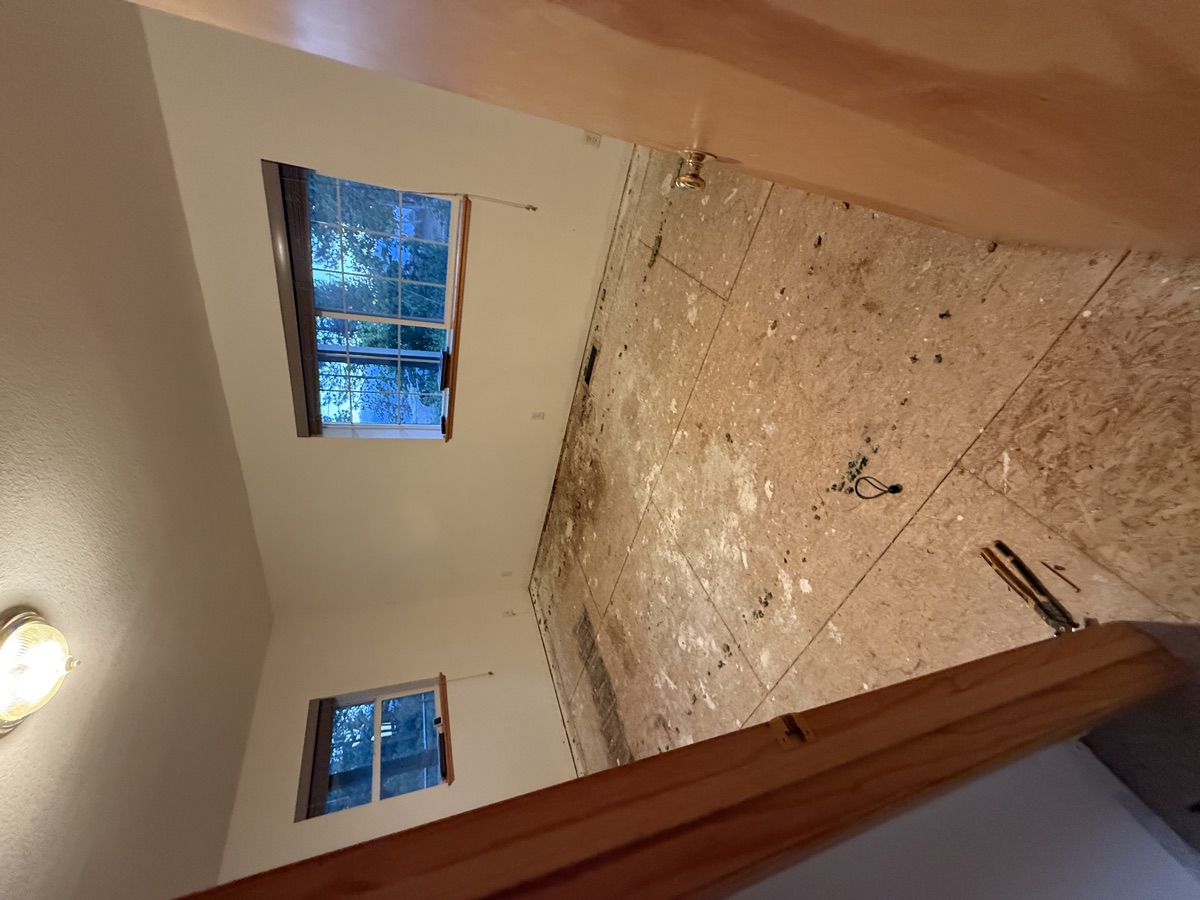
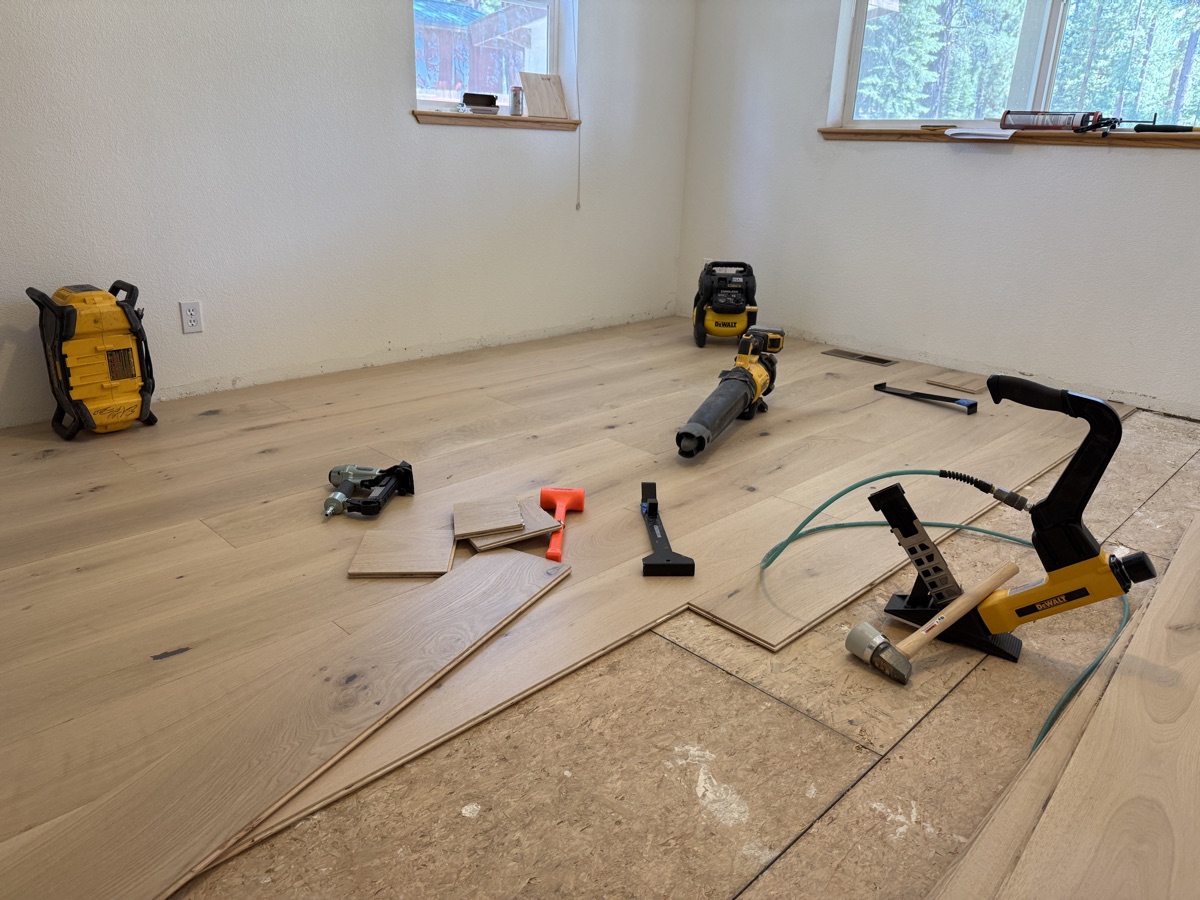
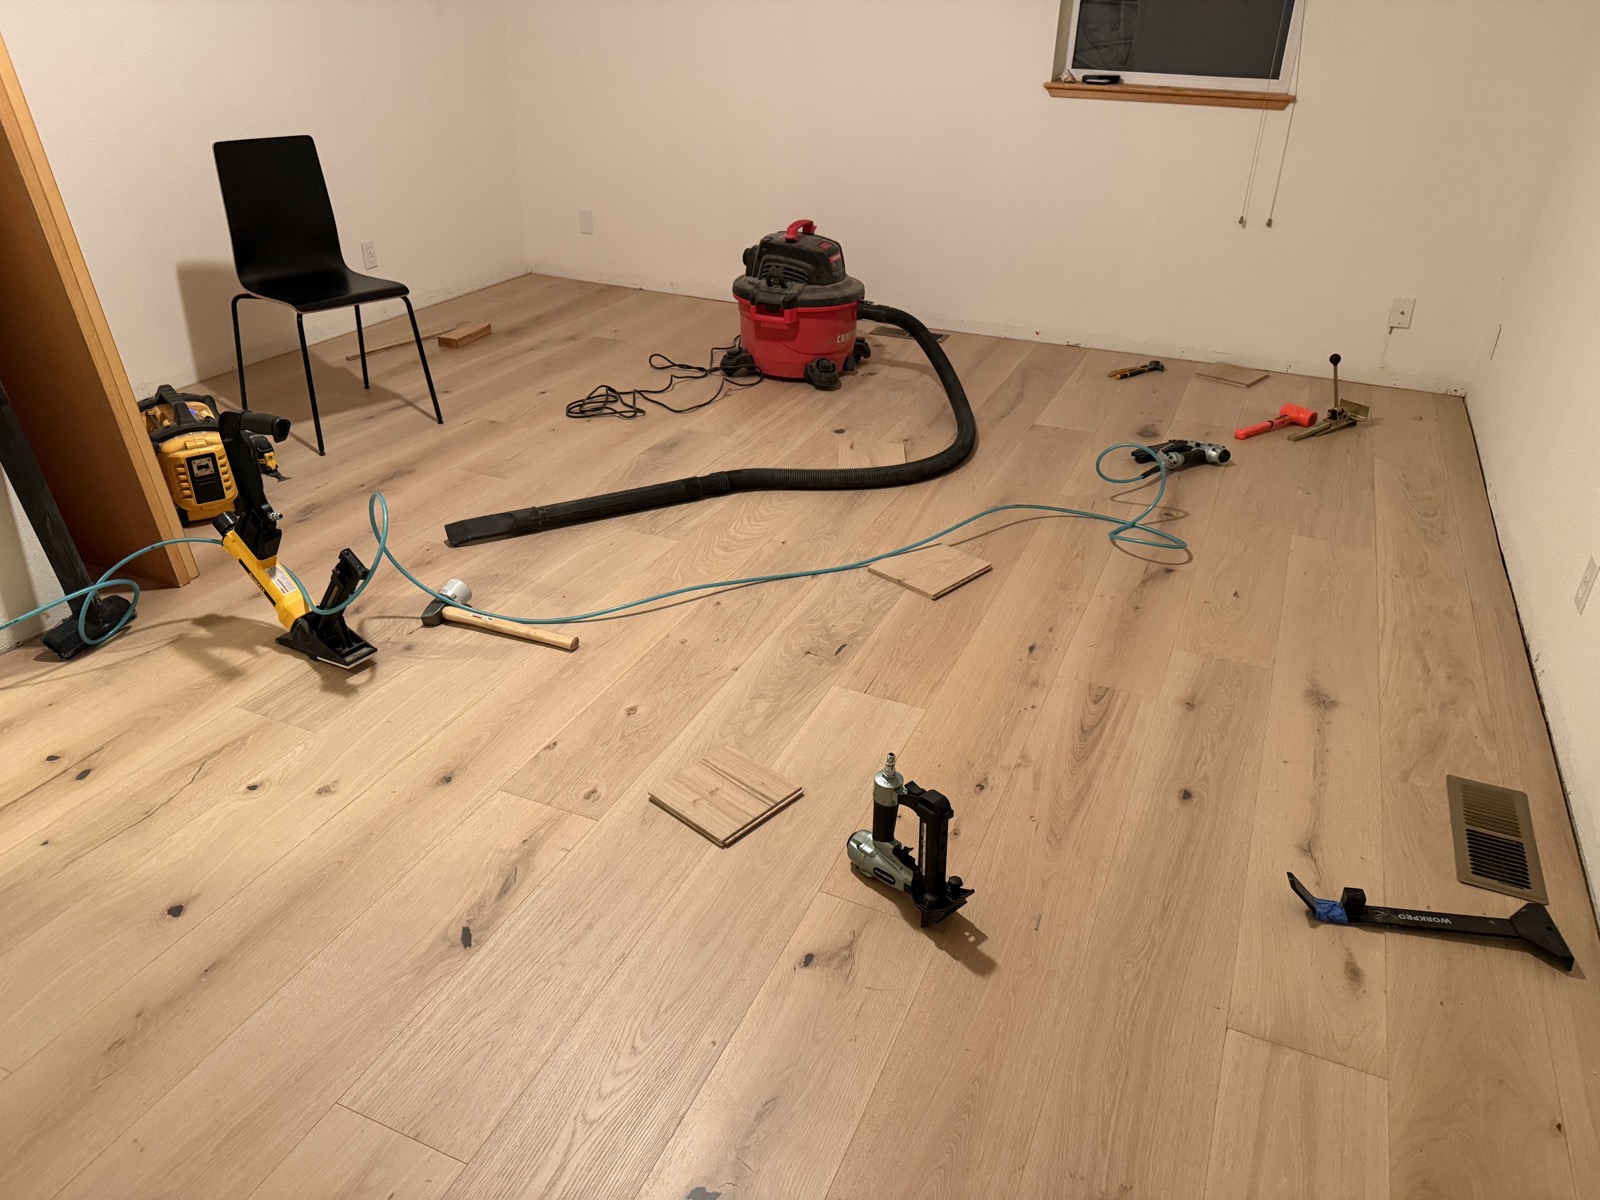
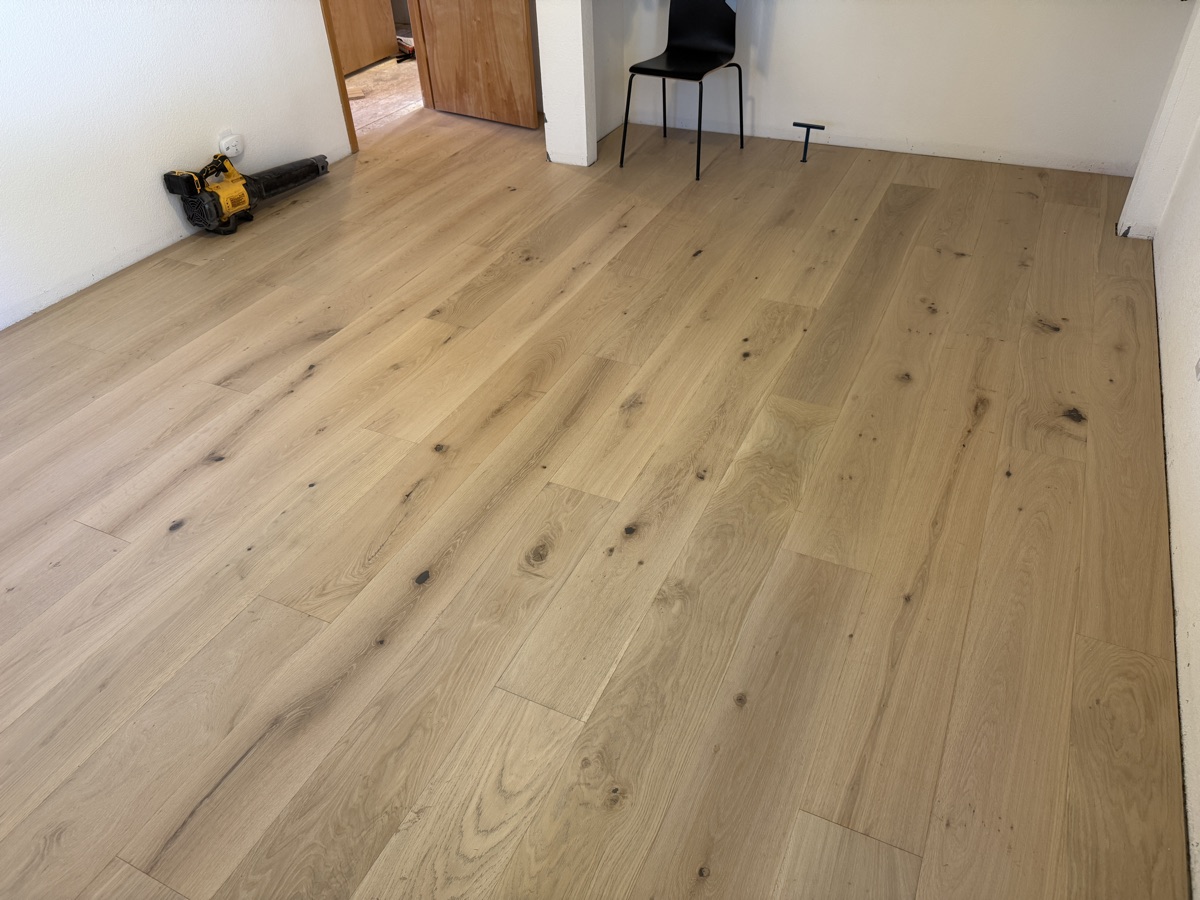
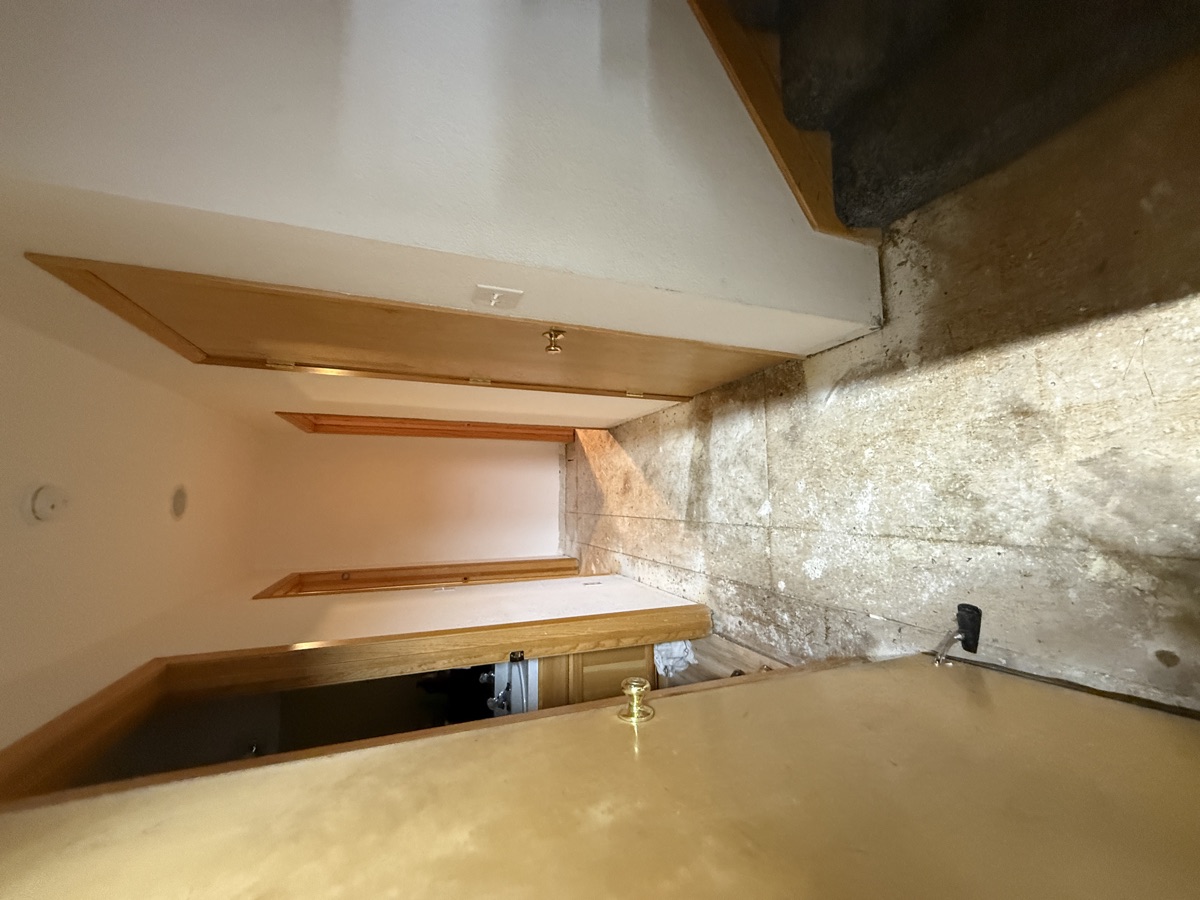
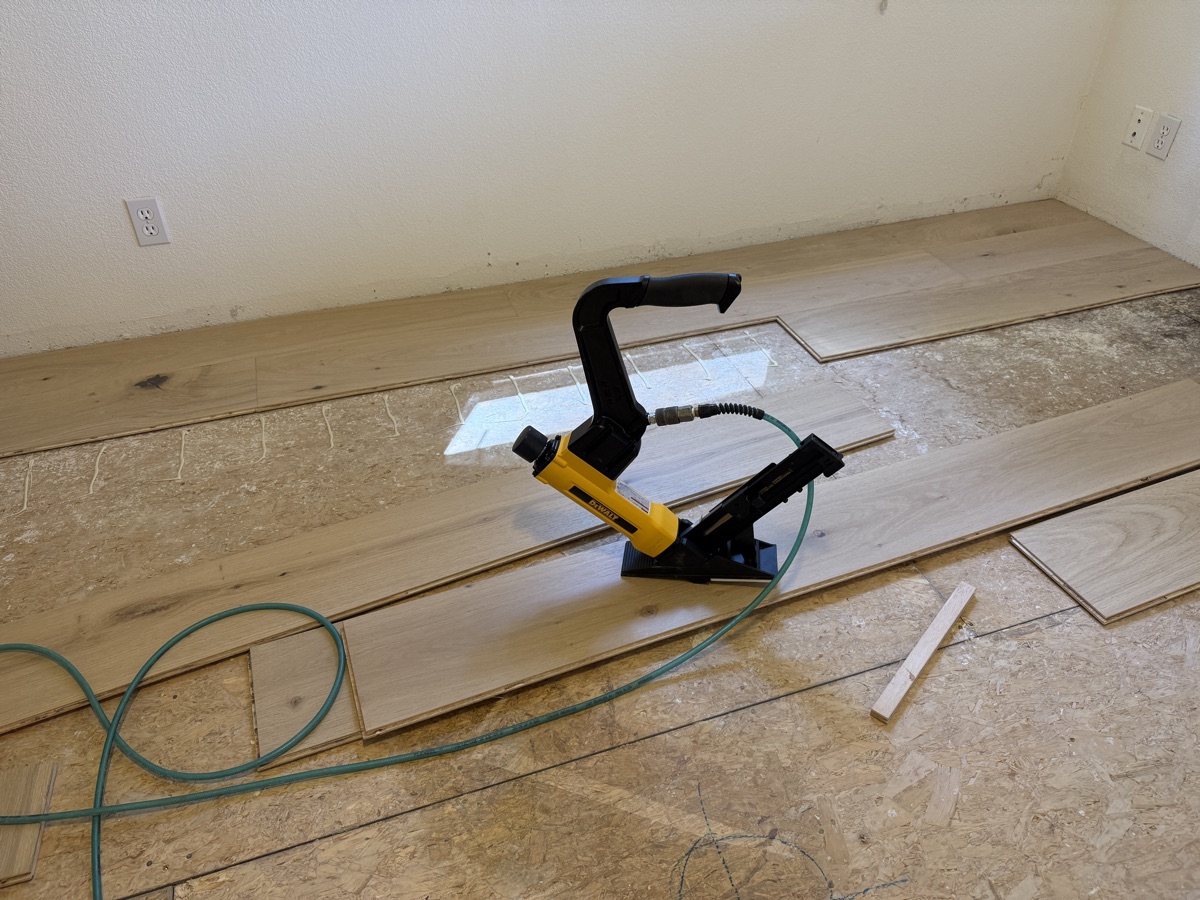
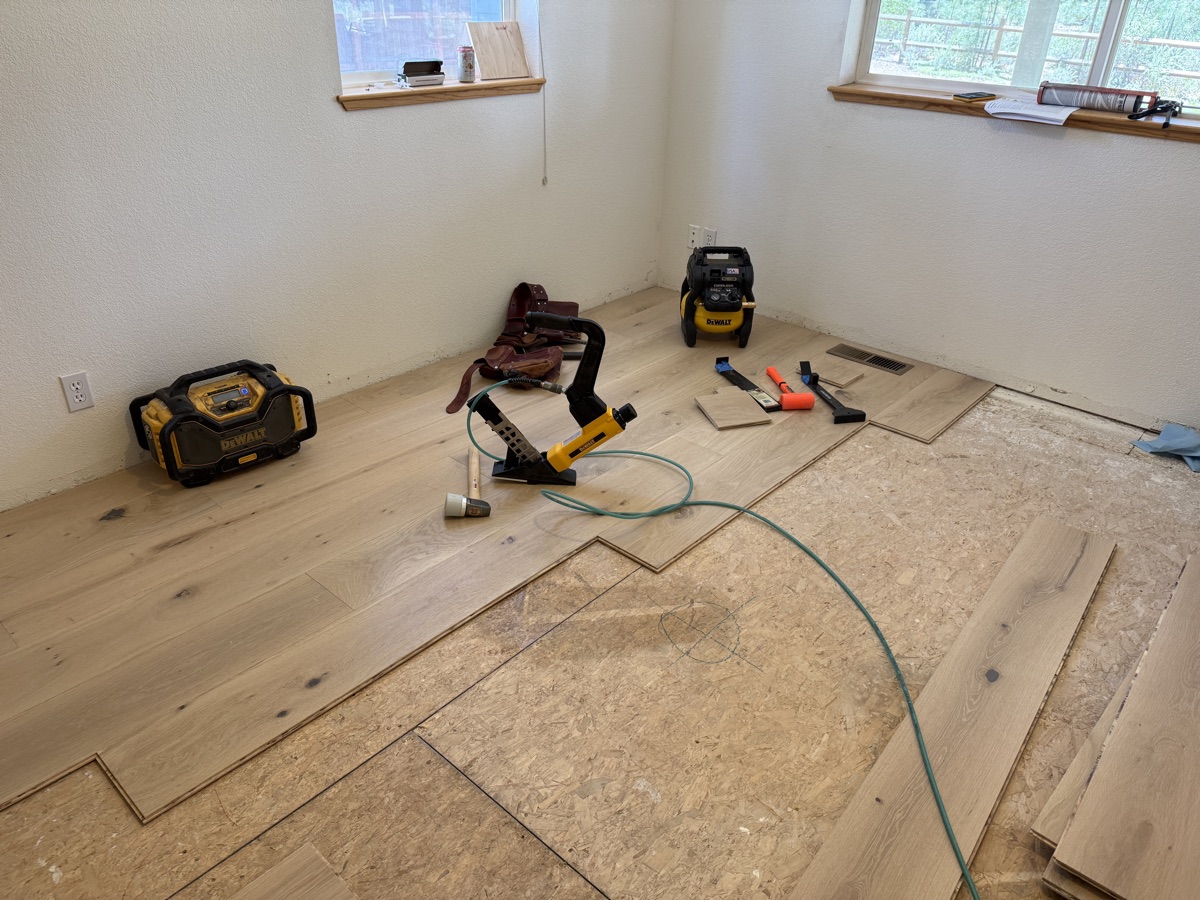
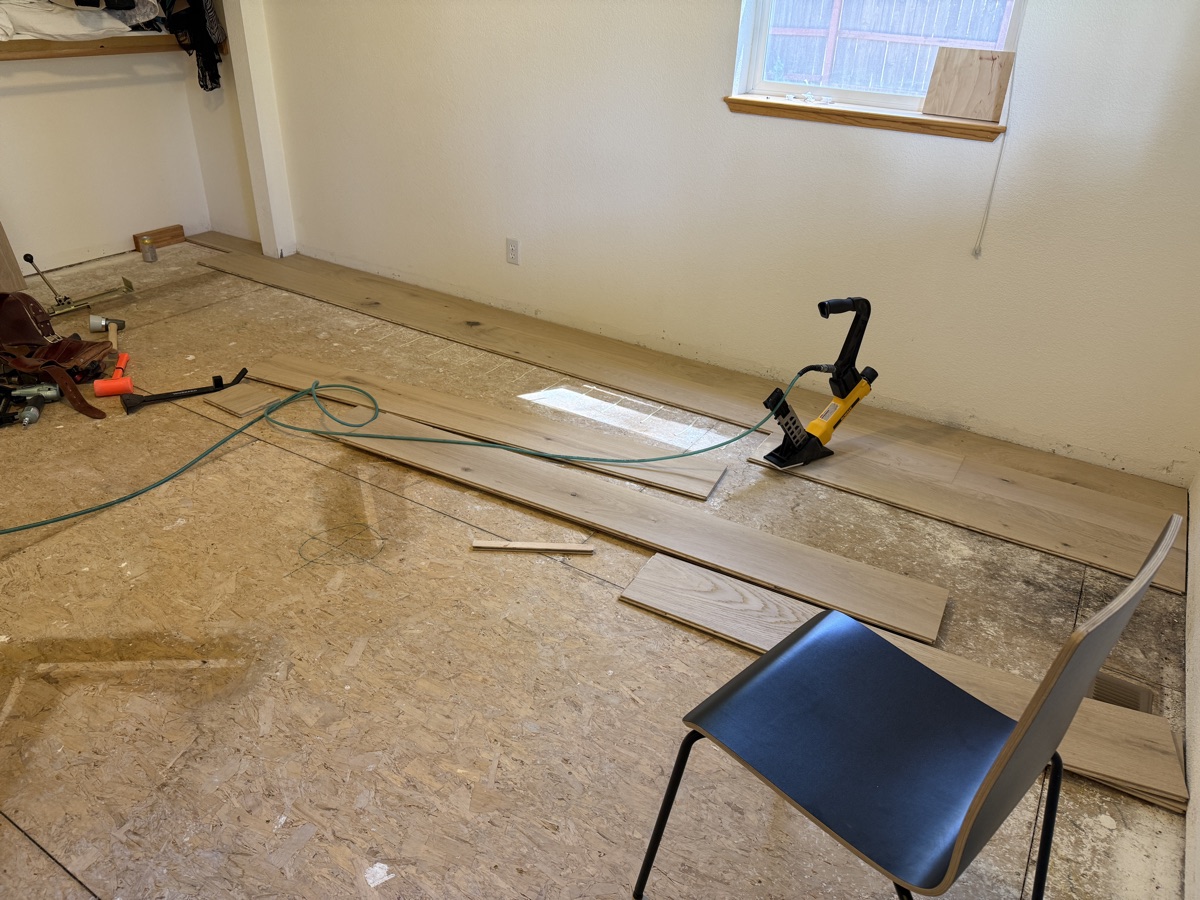
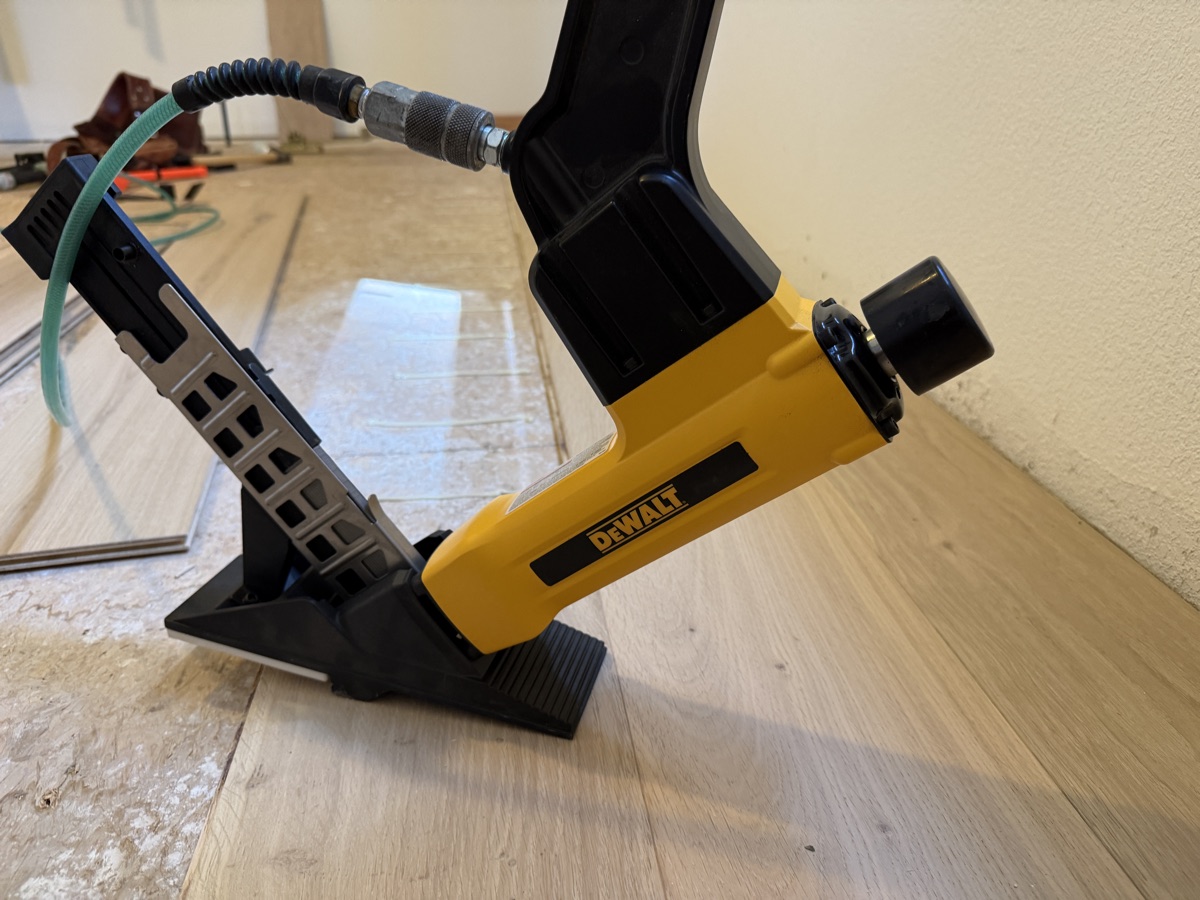
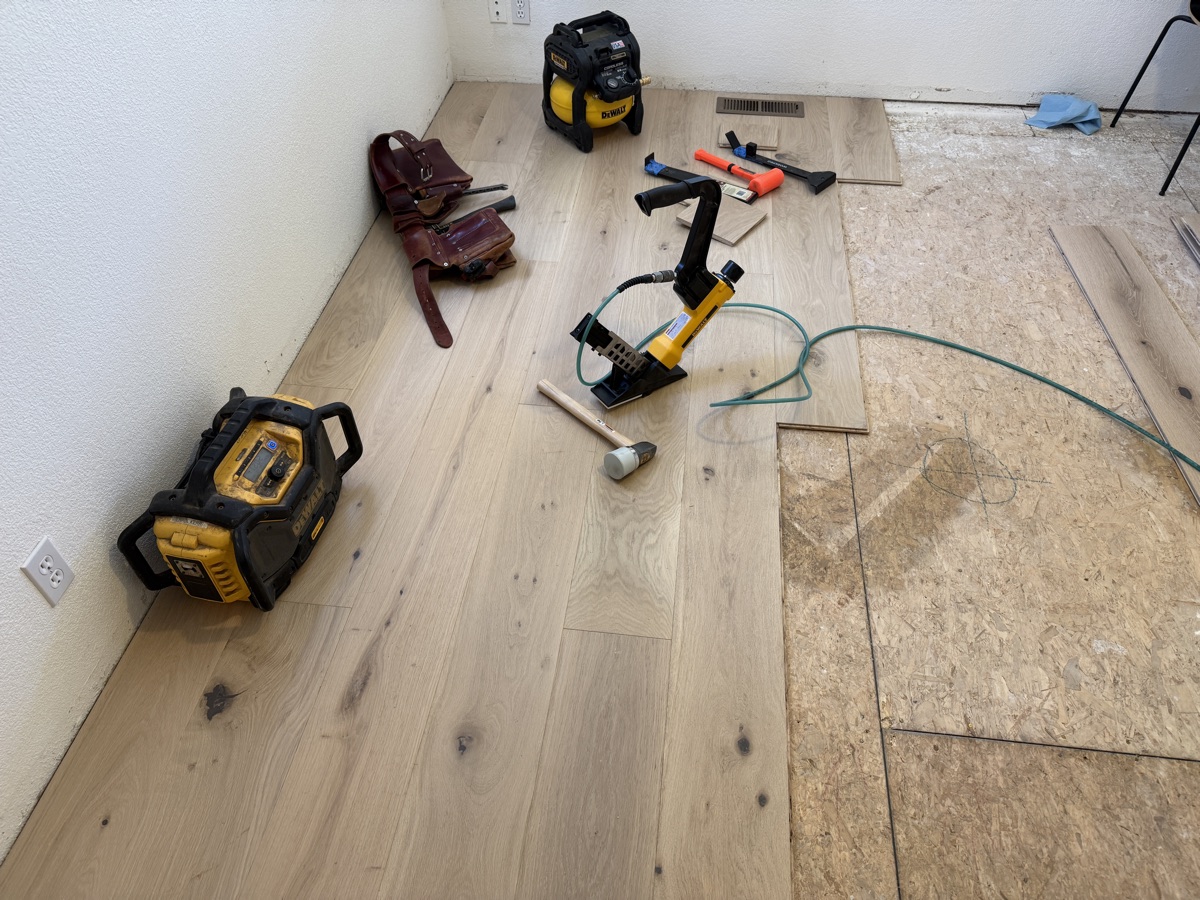
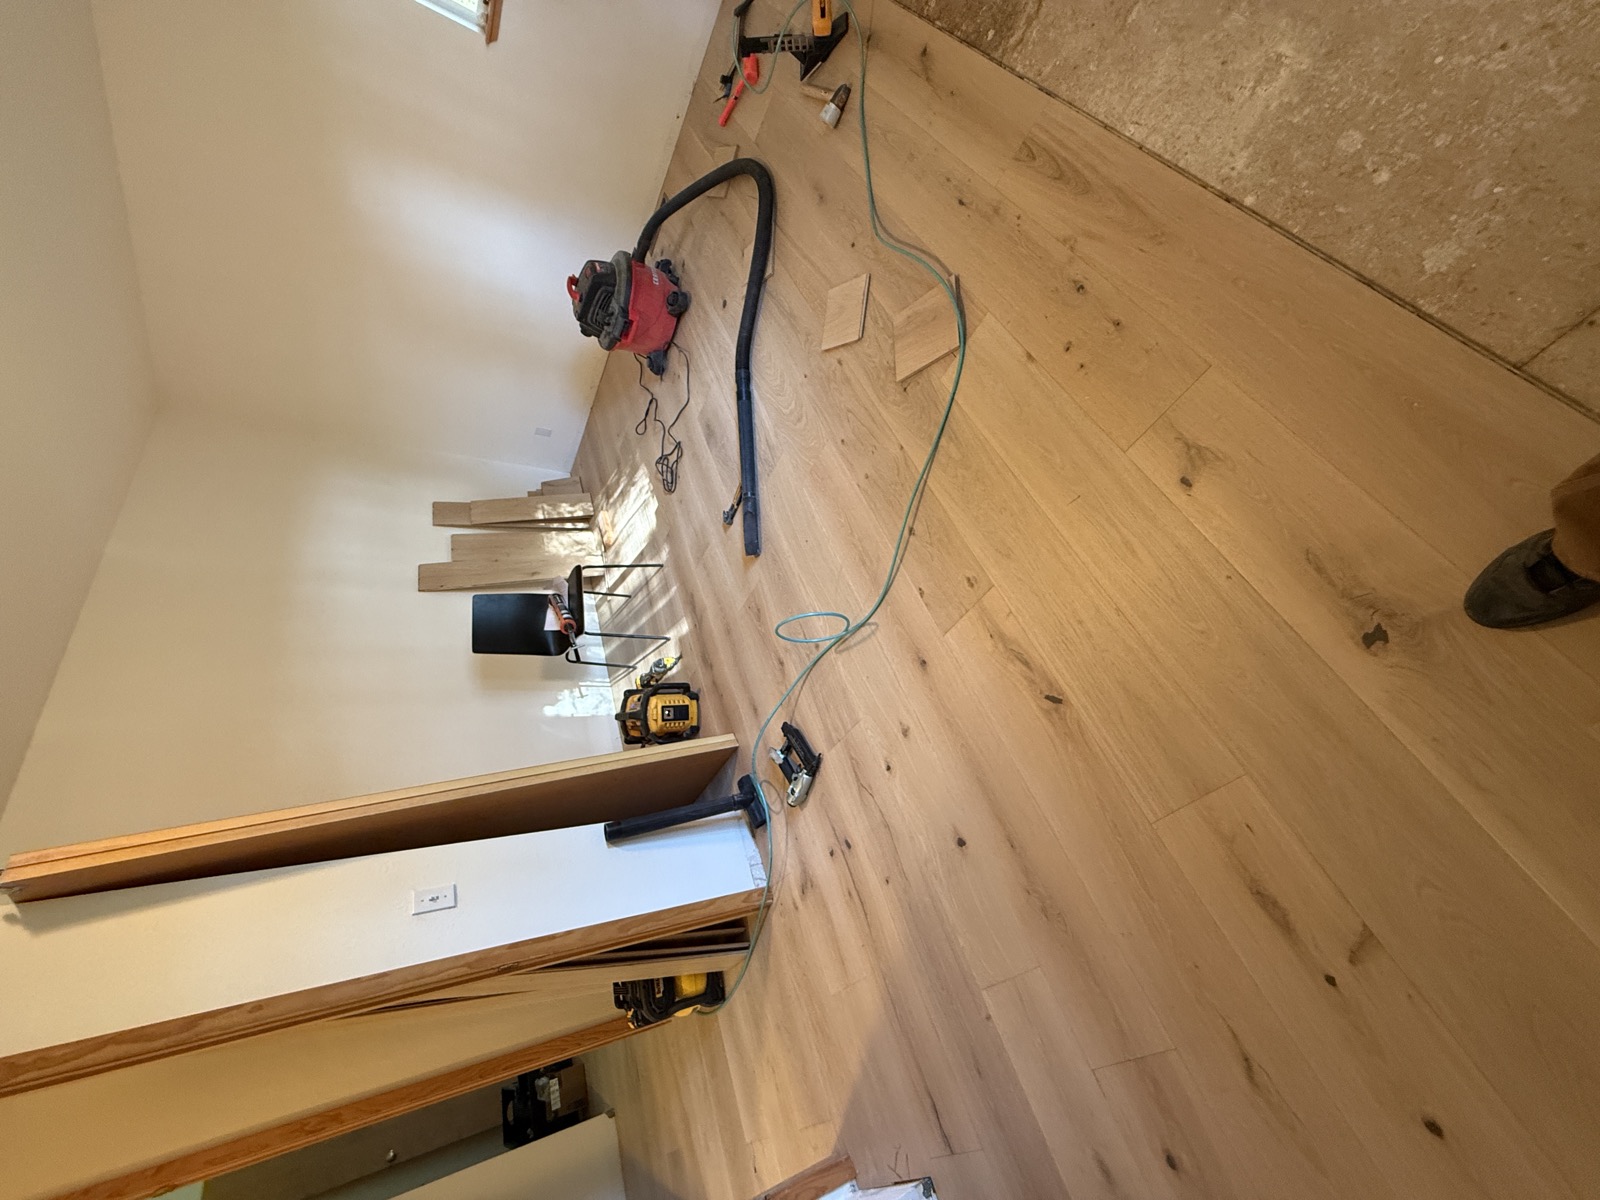
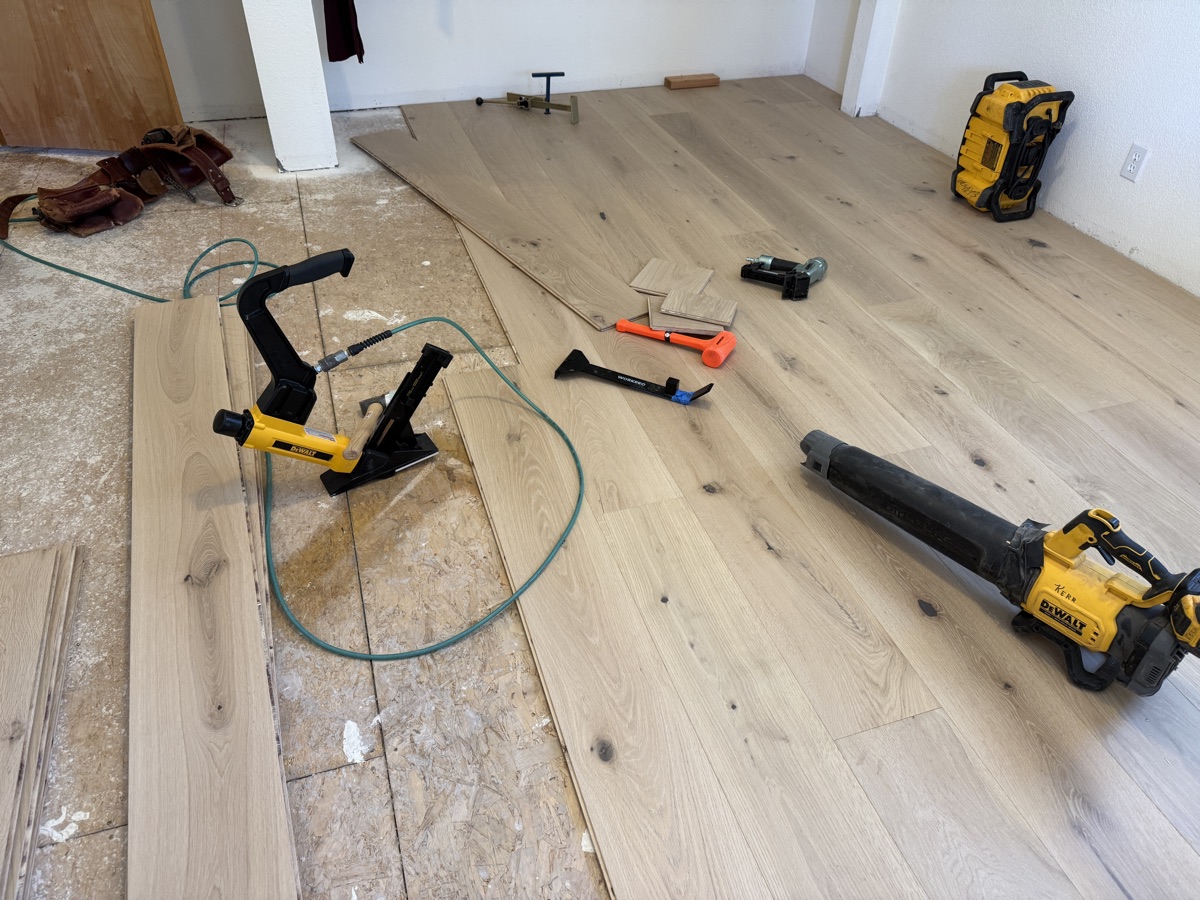
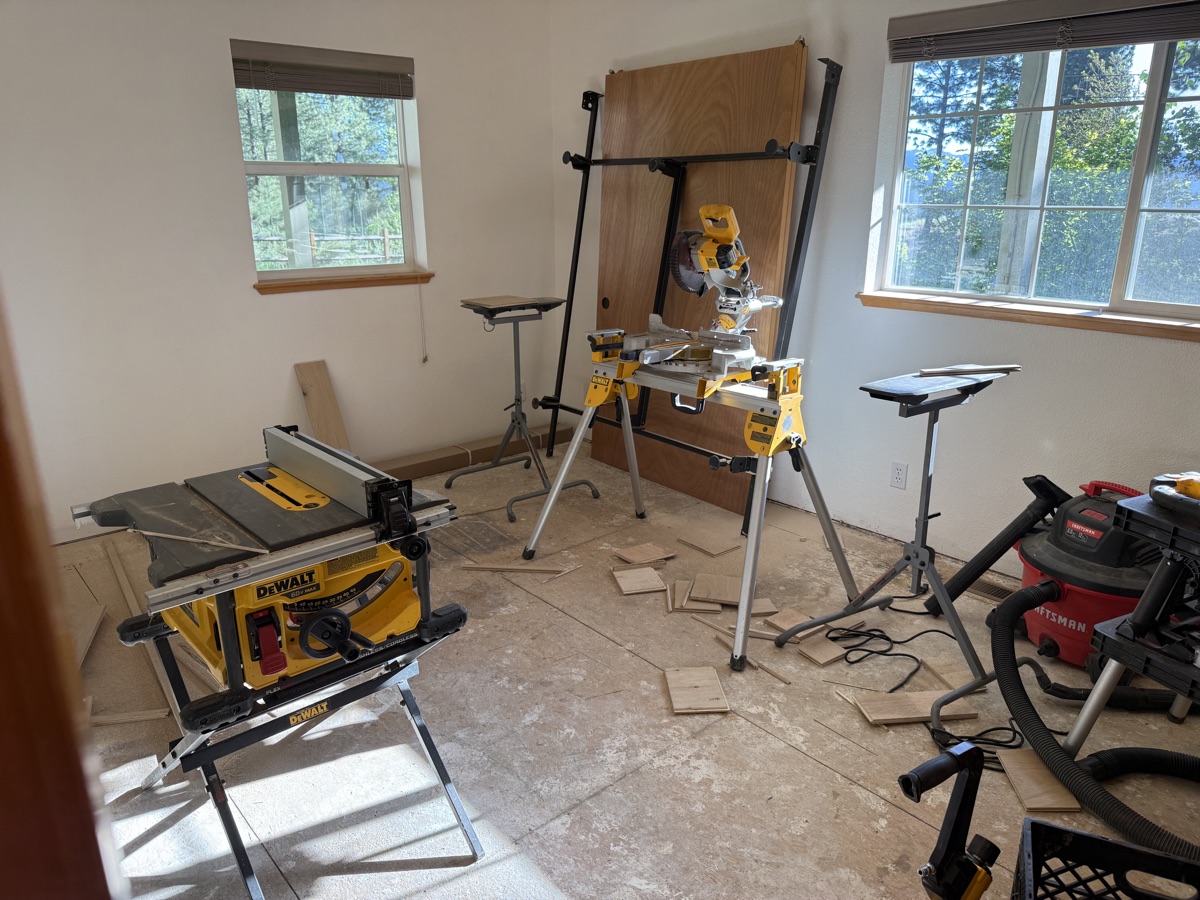
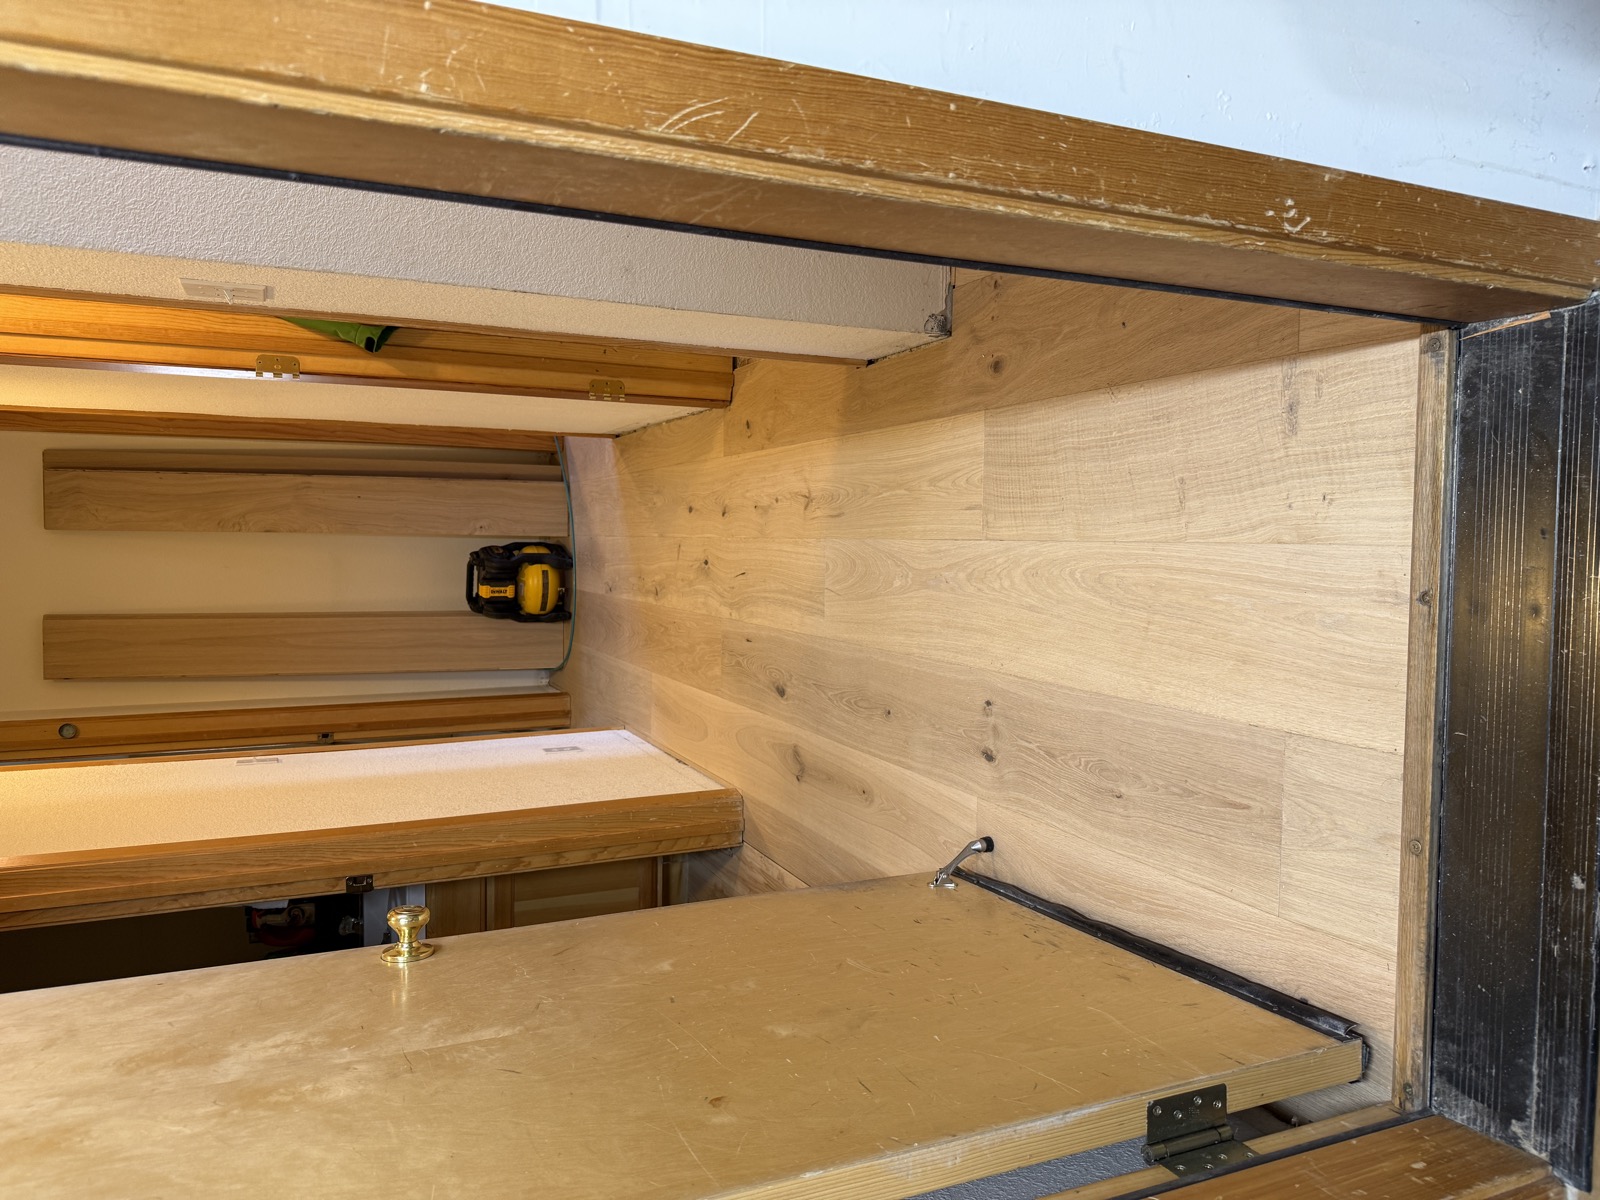
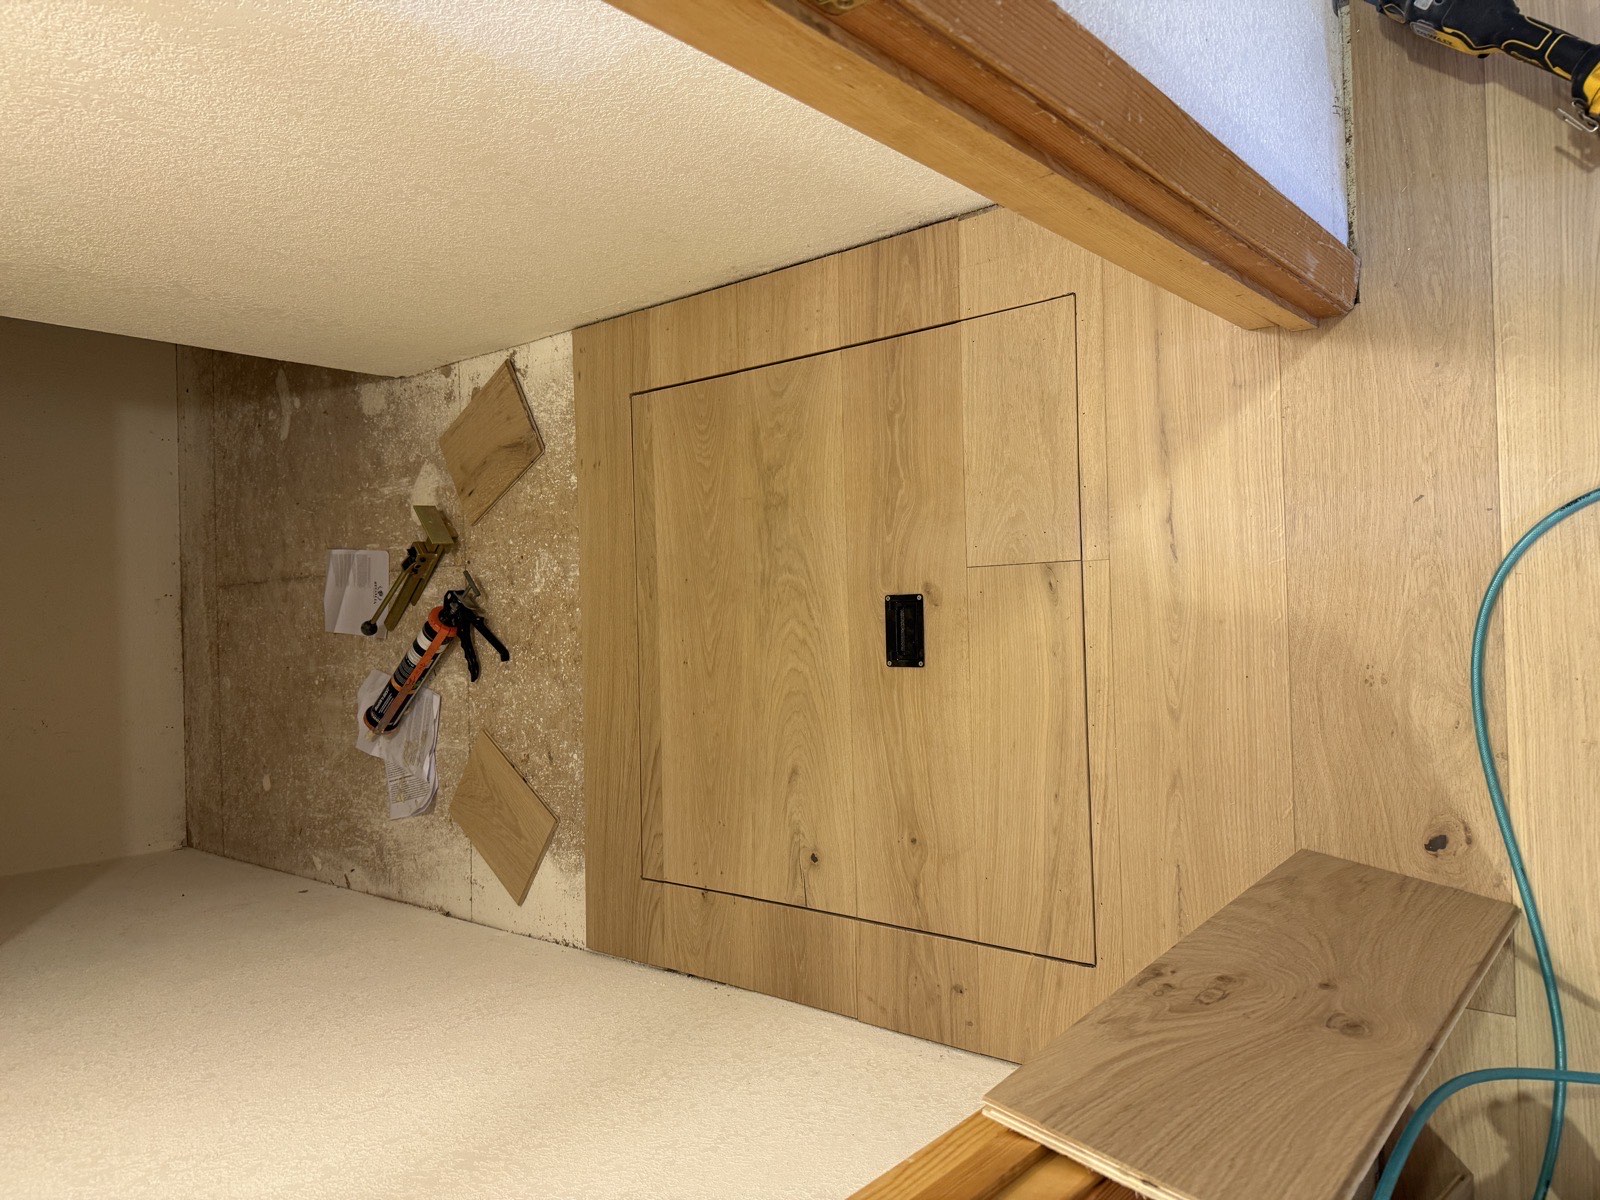
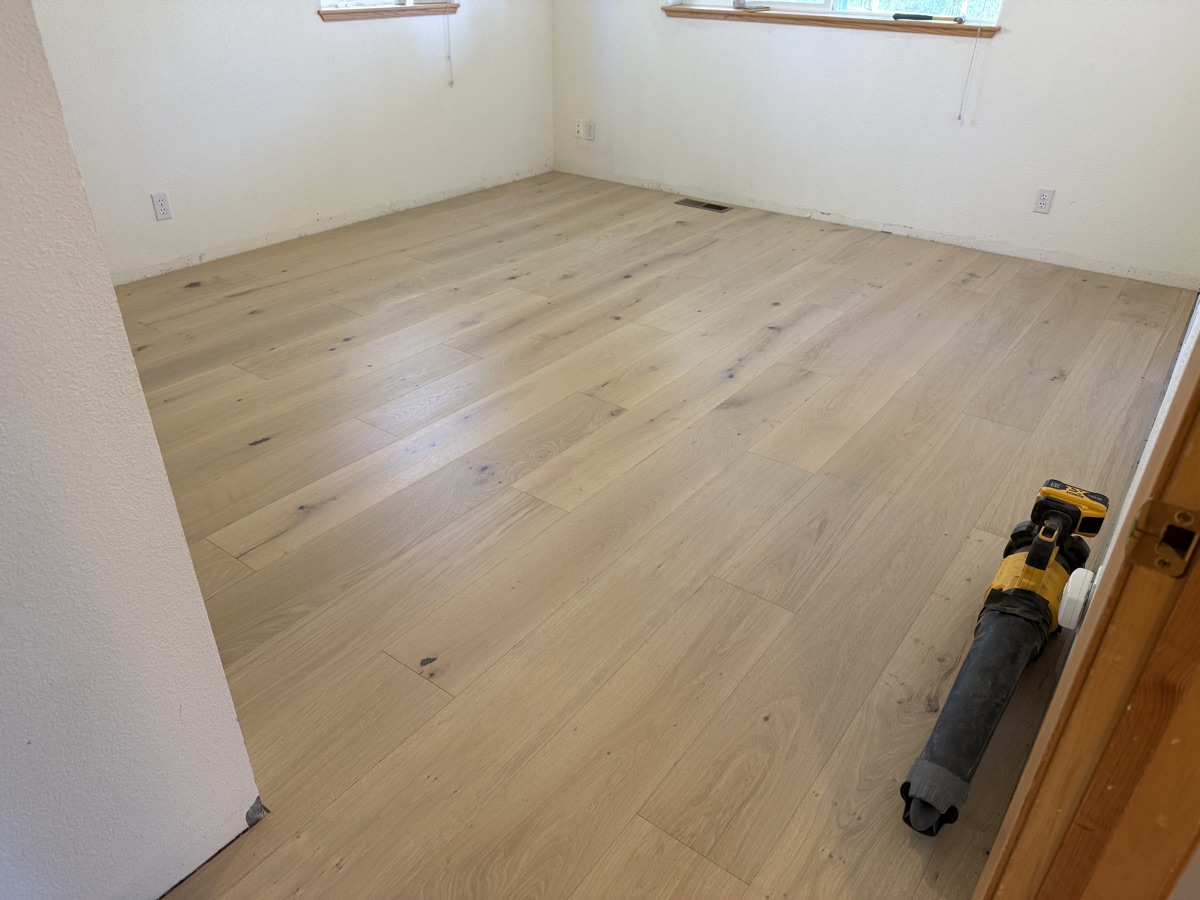
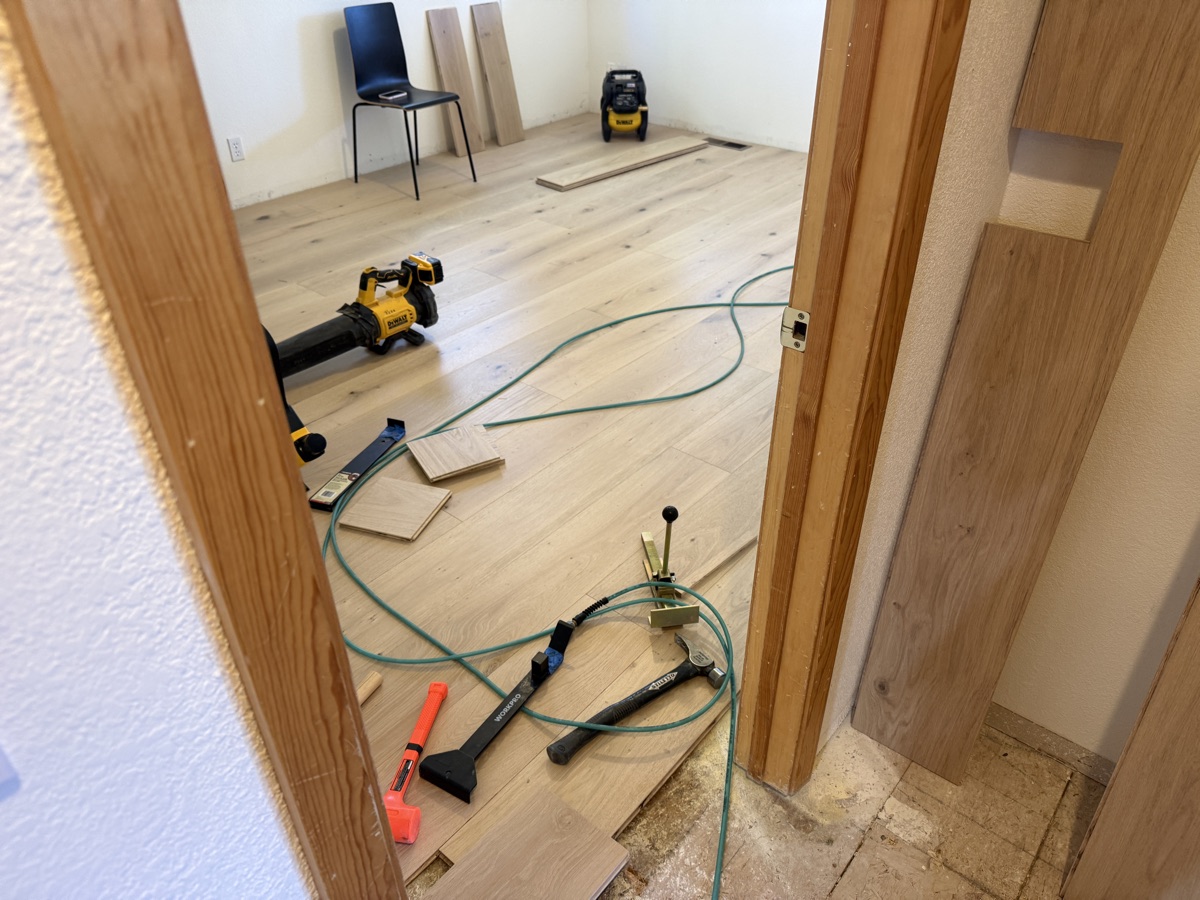
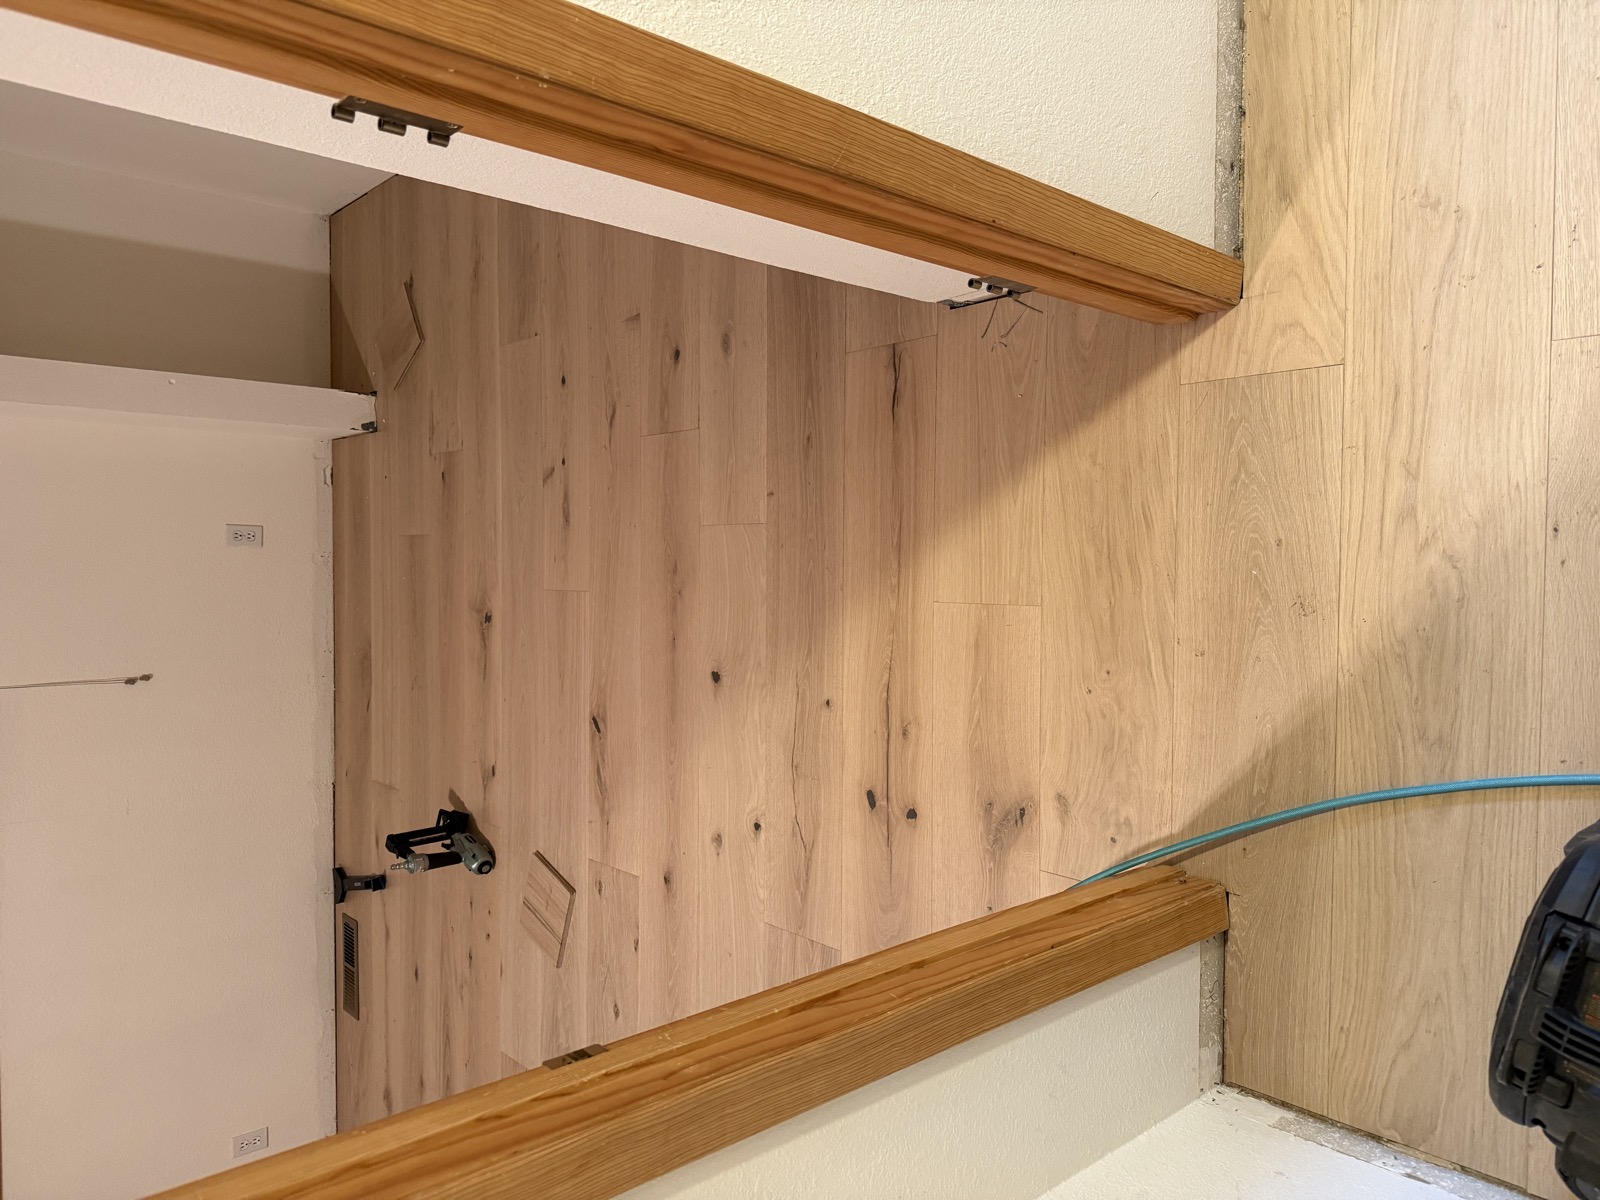
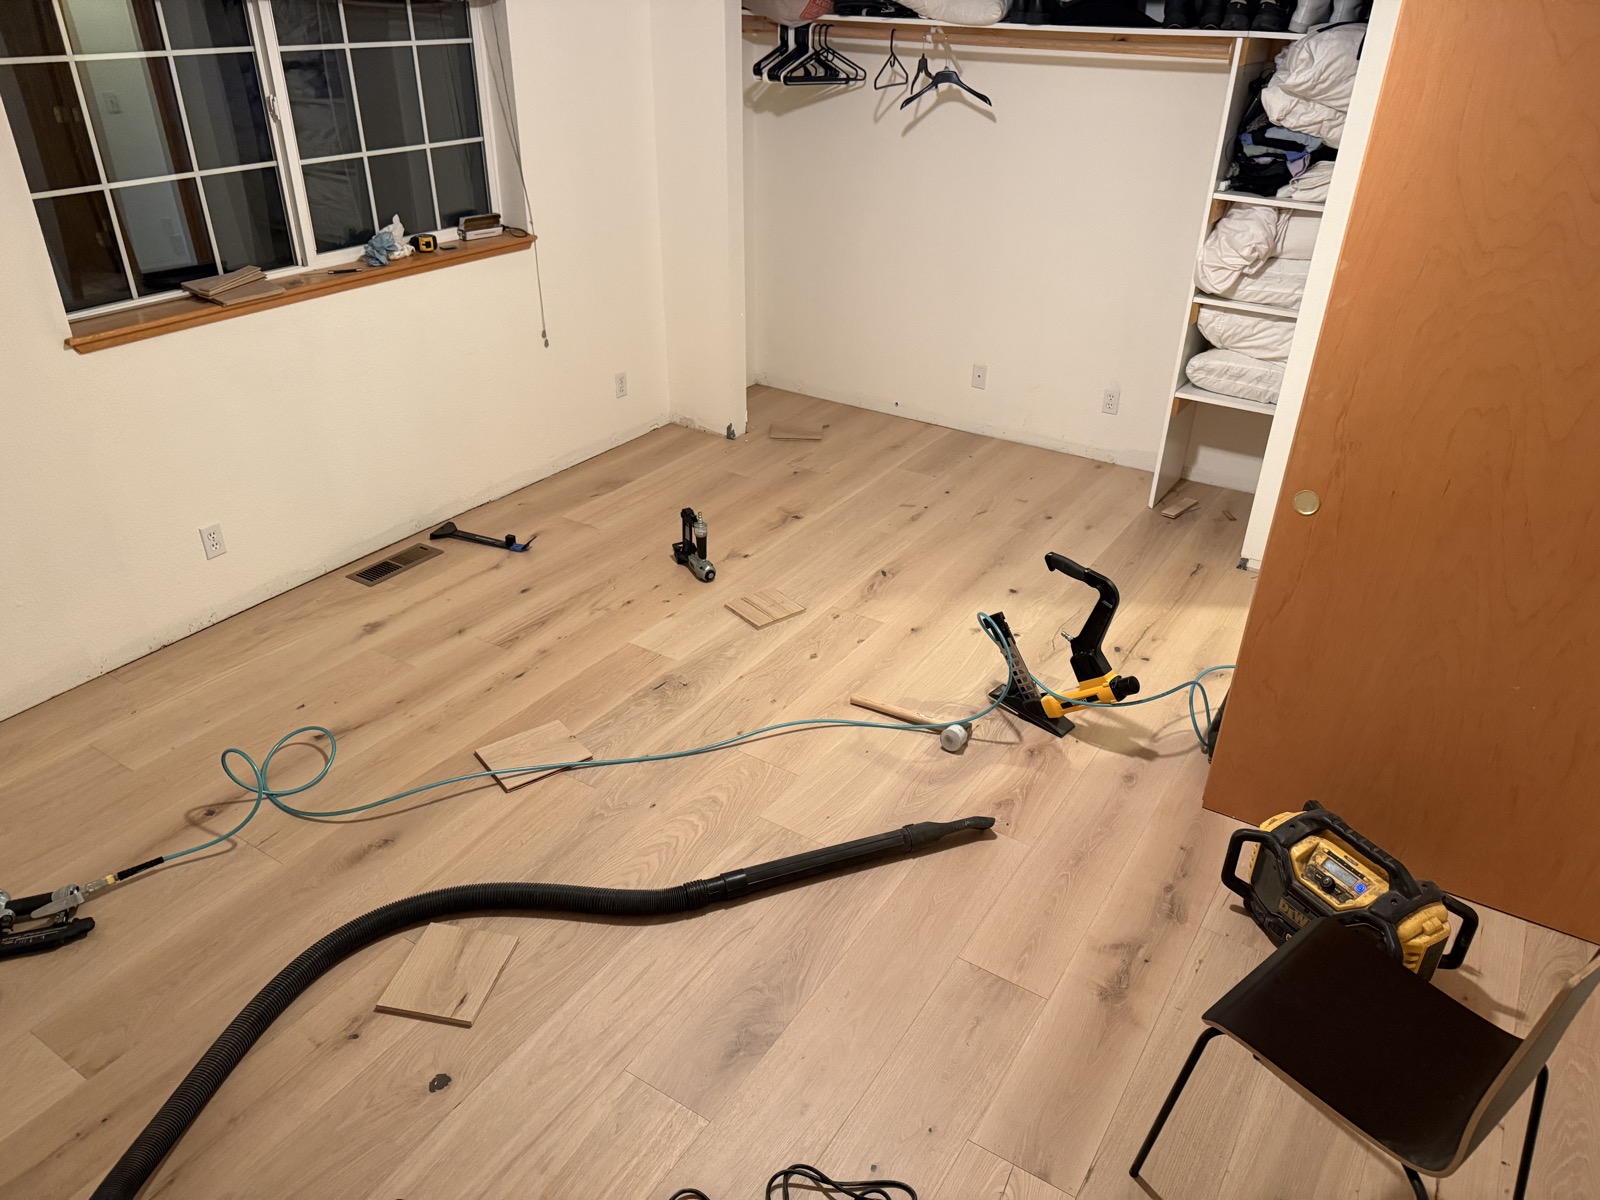
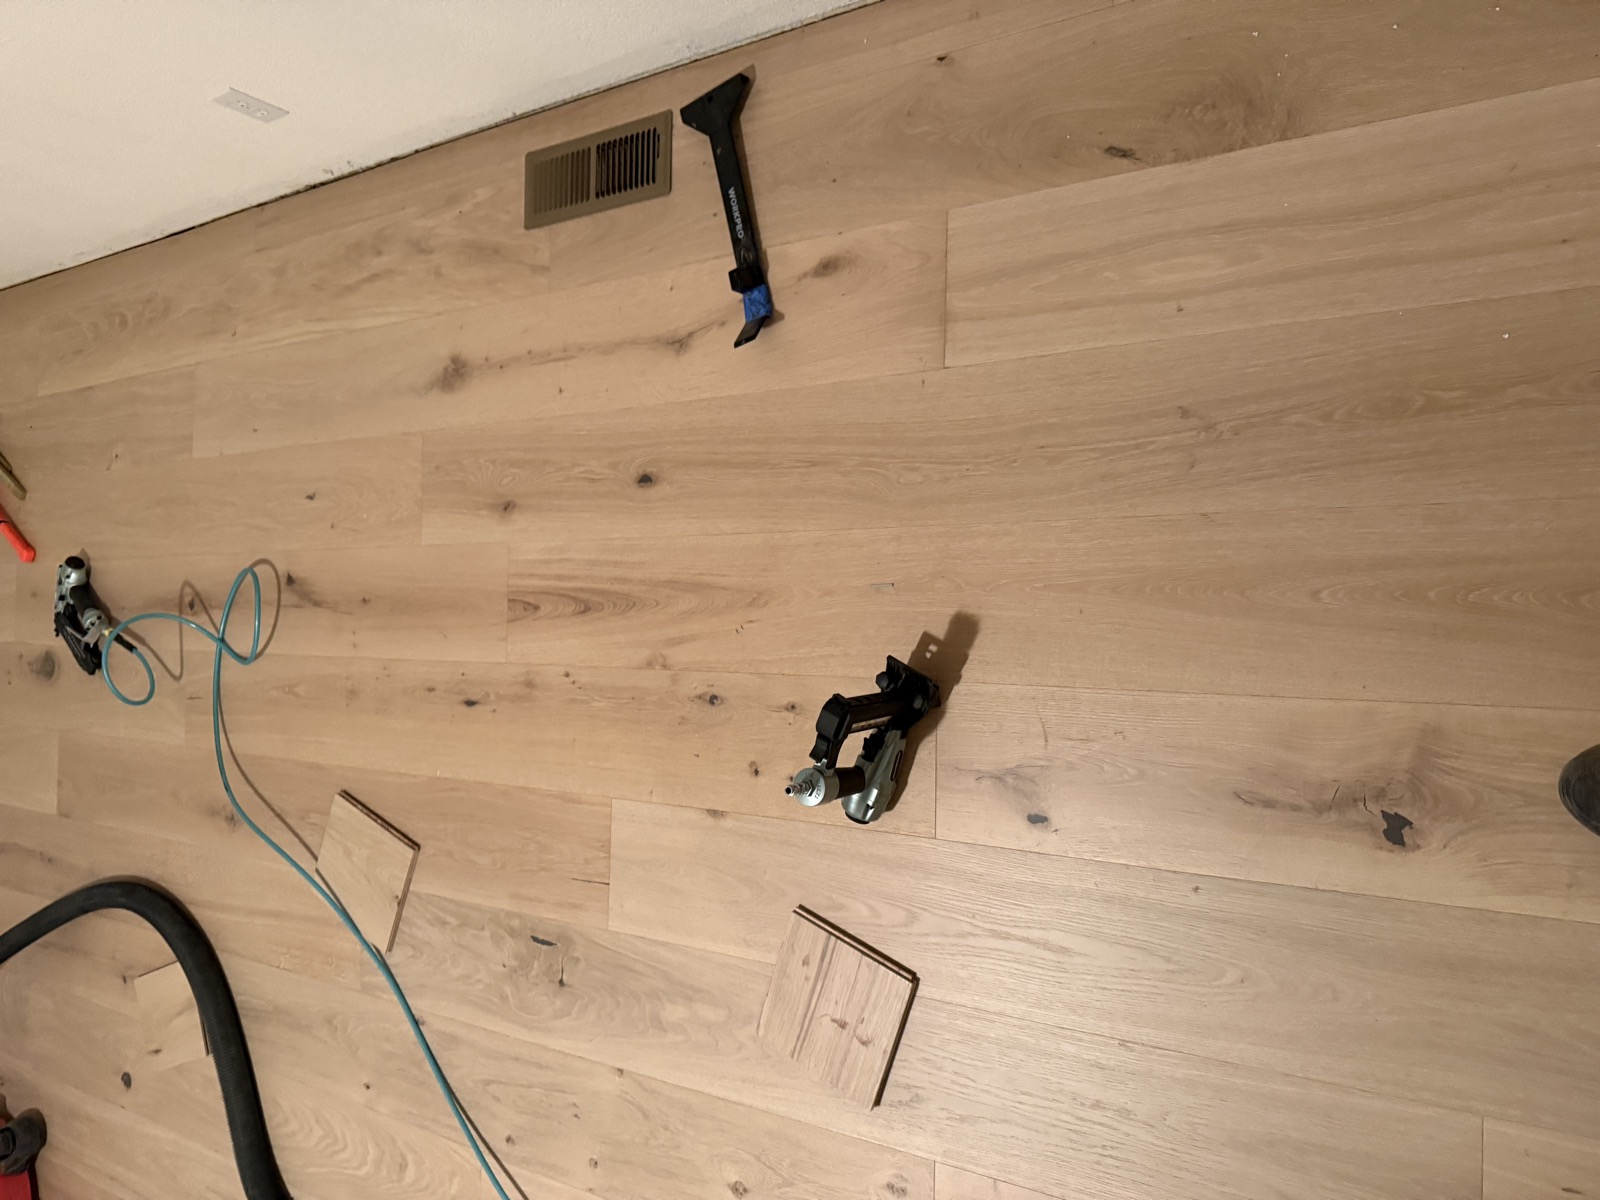
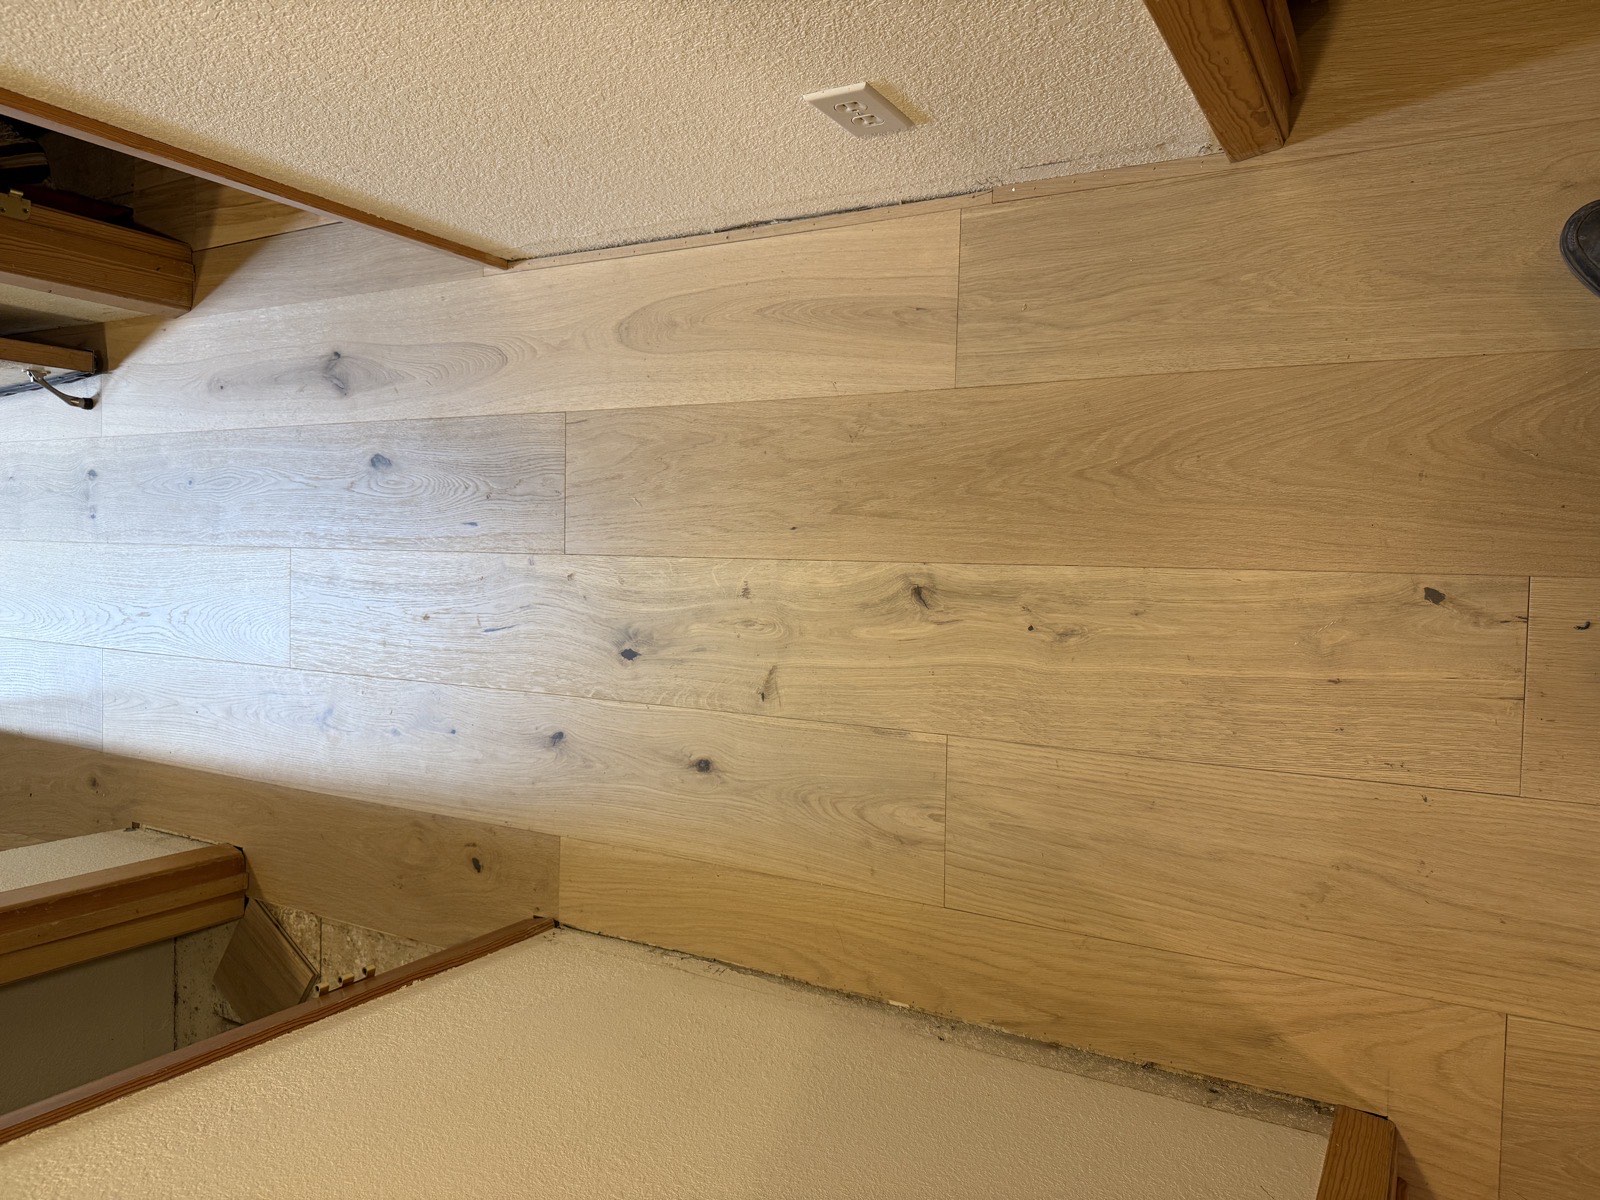
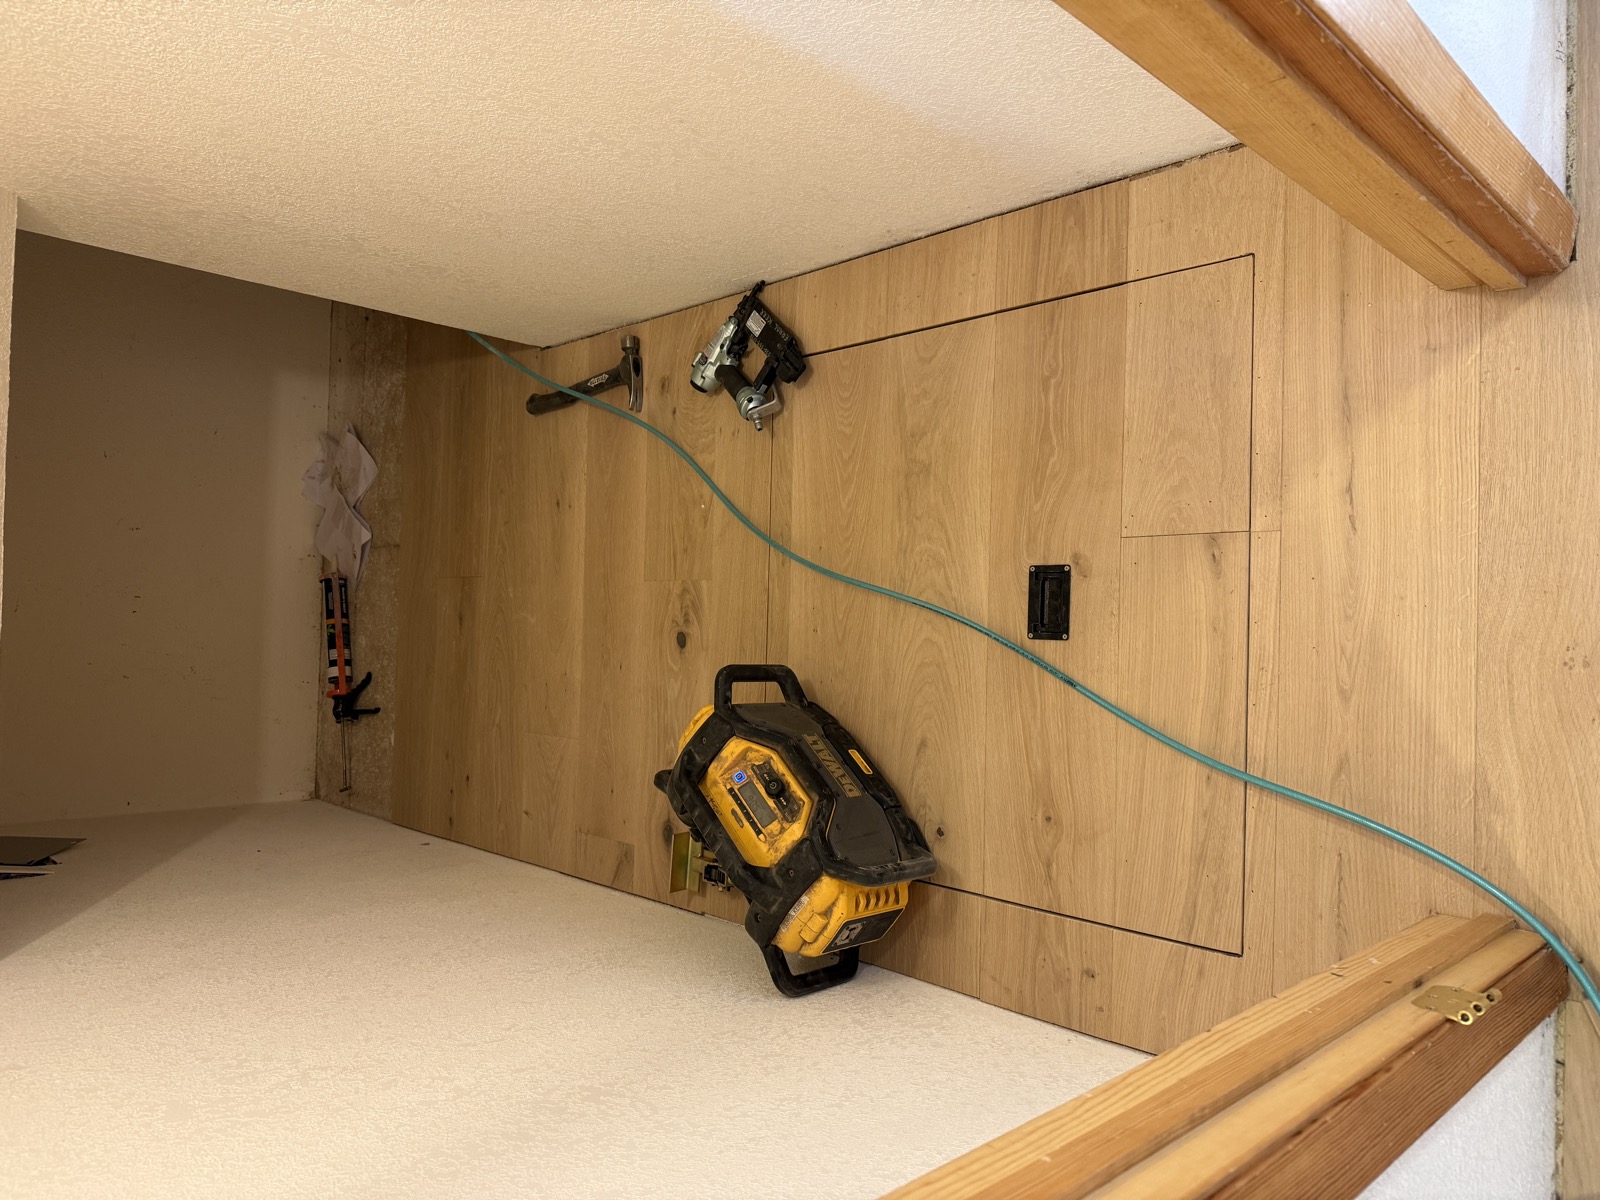
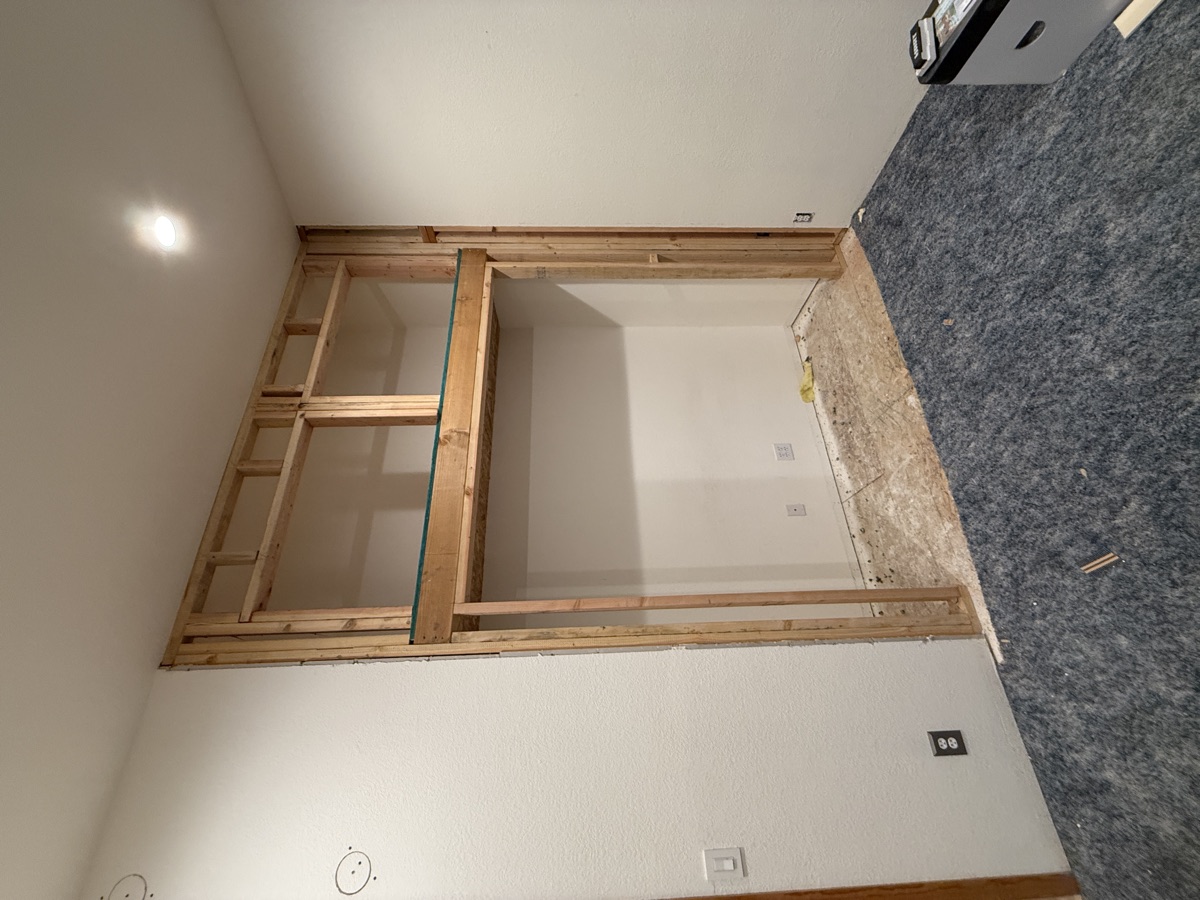
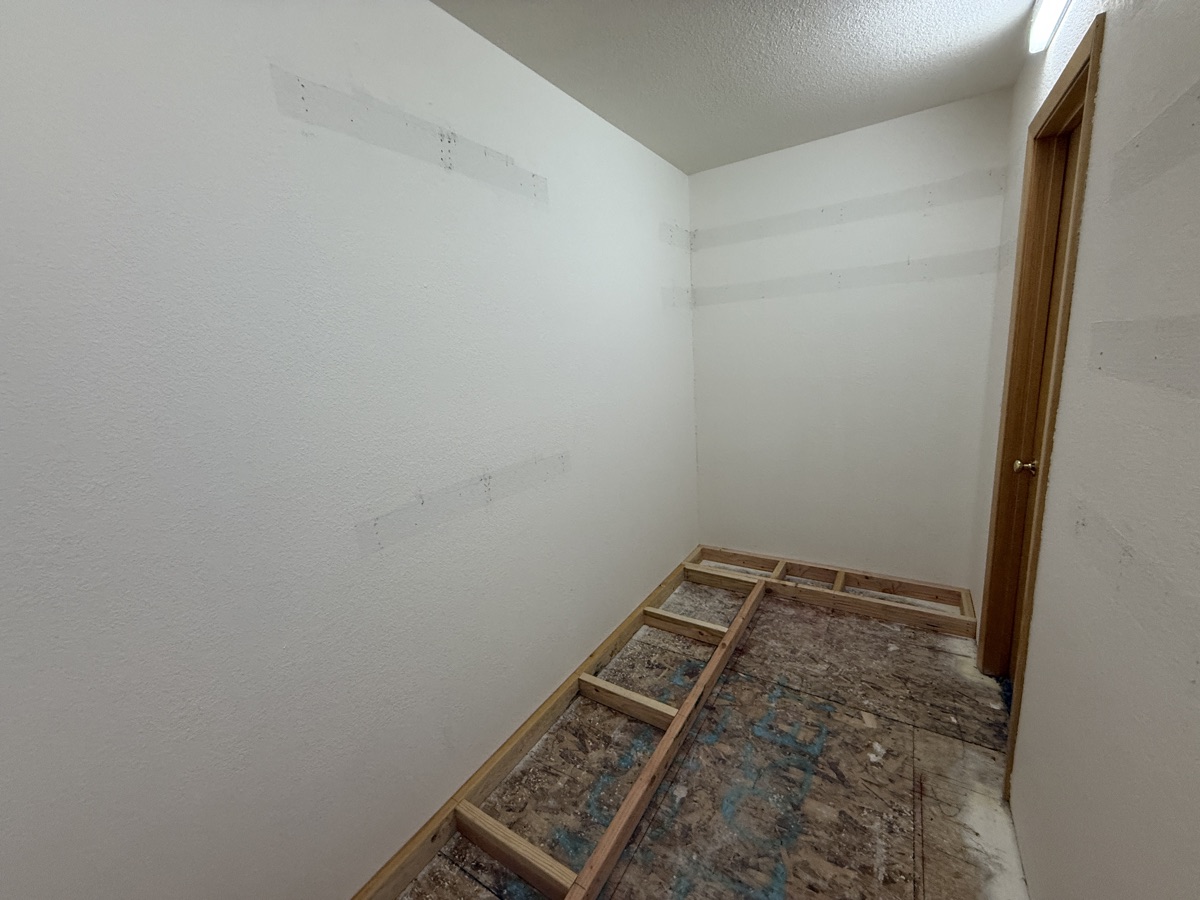
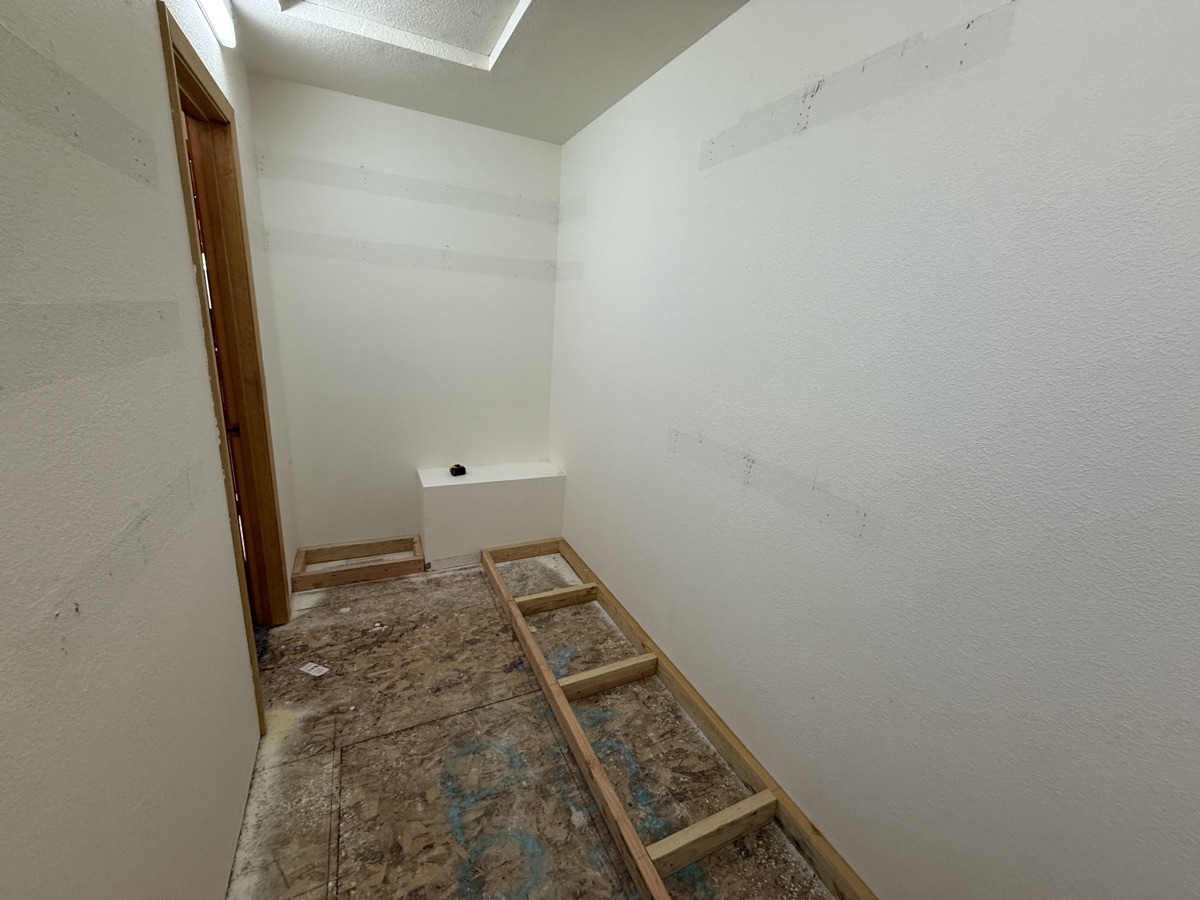
This one nearly broke me. Not because it's hard — the install itself is straightforward if you've done any finish work — but because subfloor prep is the most tedious, soul-crushing phase of any remodel and there's no shortcut through it. Every staple from the old carpet, every high spot, every dip — you deal with all of it before a single board goes down, or the floor tells on you for years. Once the deck was flat and the moisture barrier was rolled, though, the REGALIA wide-plank oak went down fast. DeWalt pneumatic cleat nailer, board by board, racked for random seams, scribed tight into the closets and around every door jamb. Two days of real work, and the room went from bare OSB to a floor that makes the whole house feel like a different place.
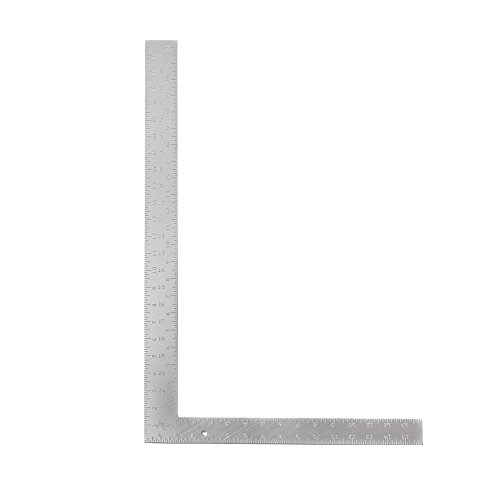
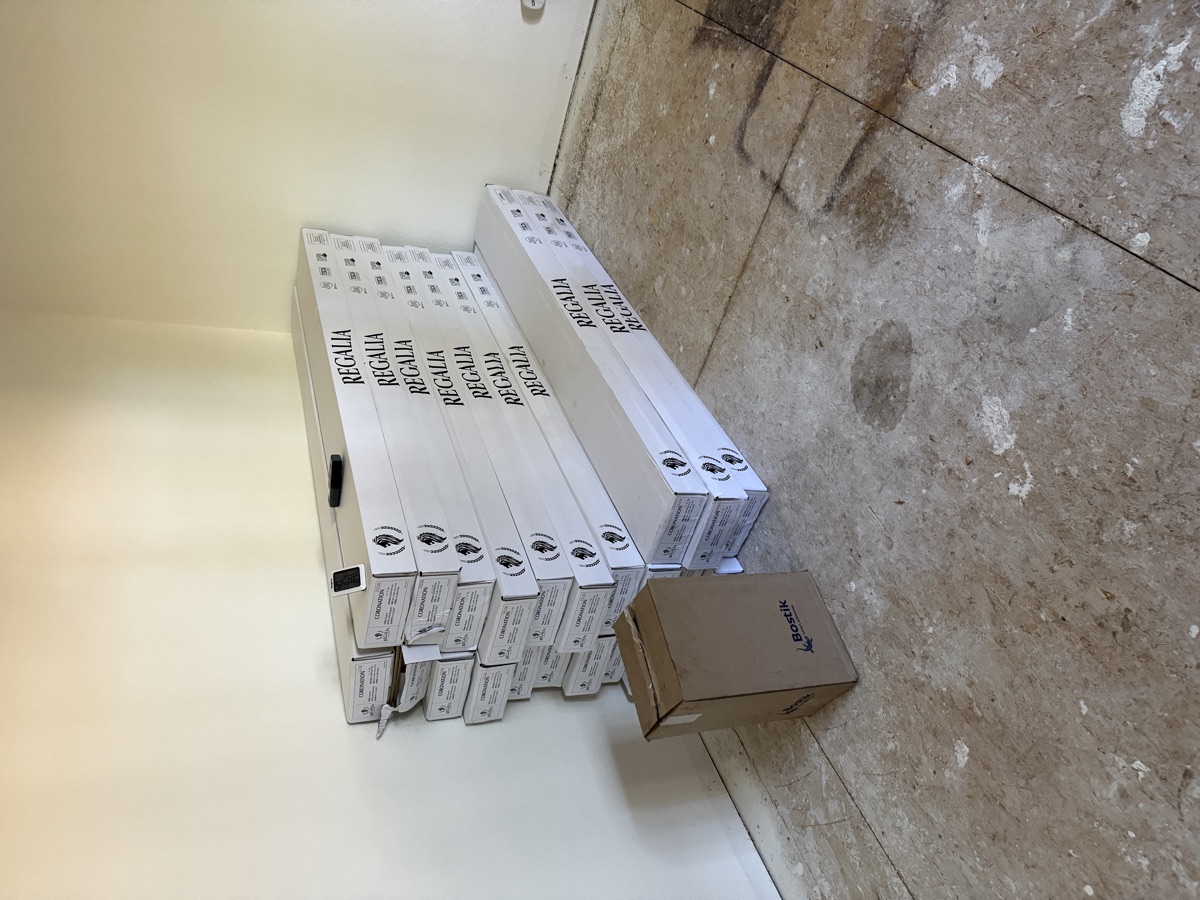
- Flooring: REGALIA wide-plank white oak hardwood
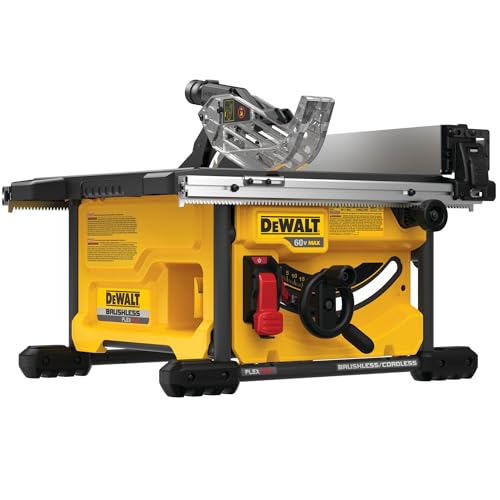
- DeWalt DWFP12569 pneumatic cleat nailer · 16GA L-cleats
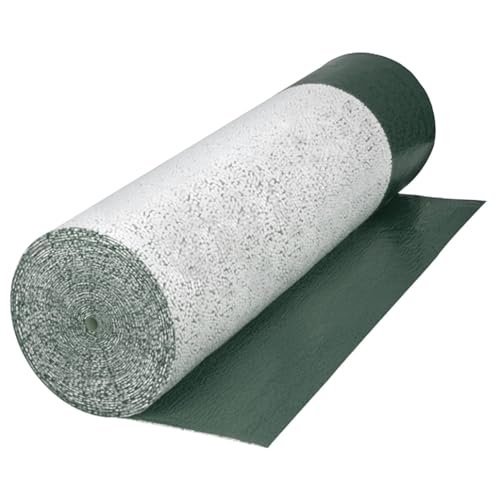
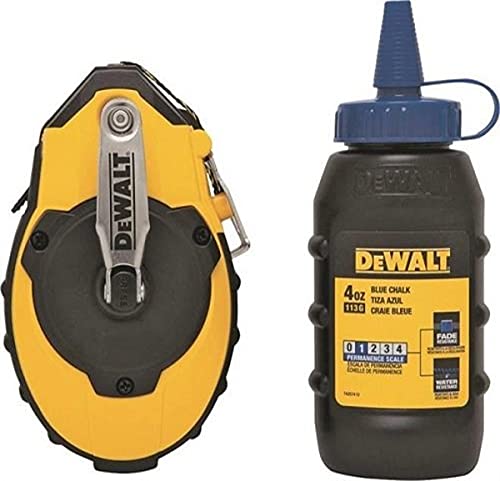
- Subfloor leveled · ROBERTS moisture barrier · Bostik adhesive
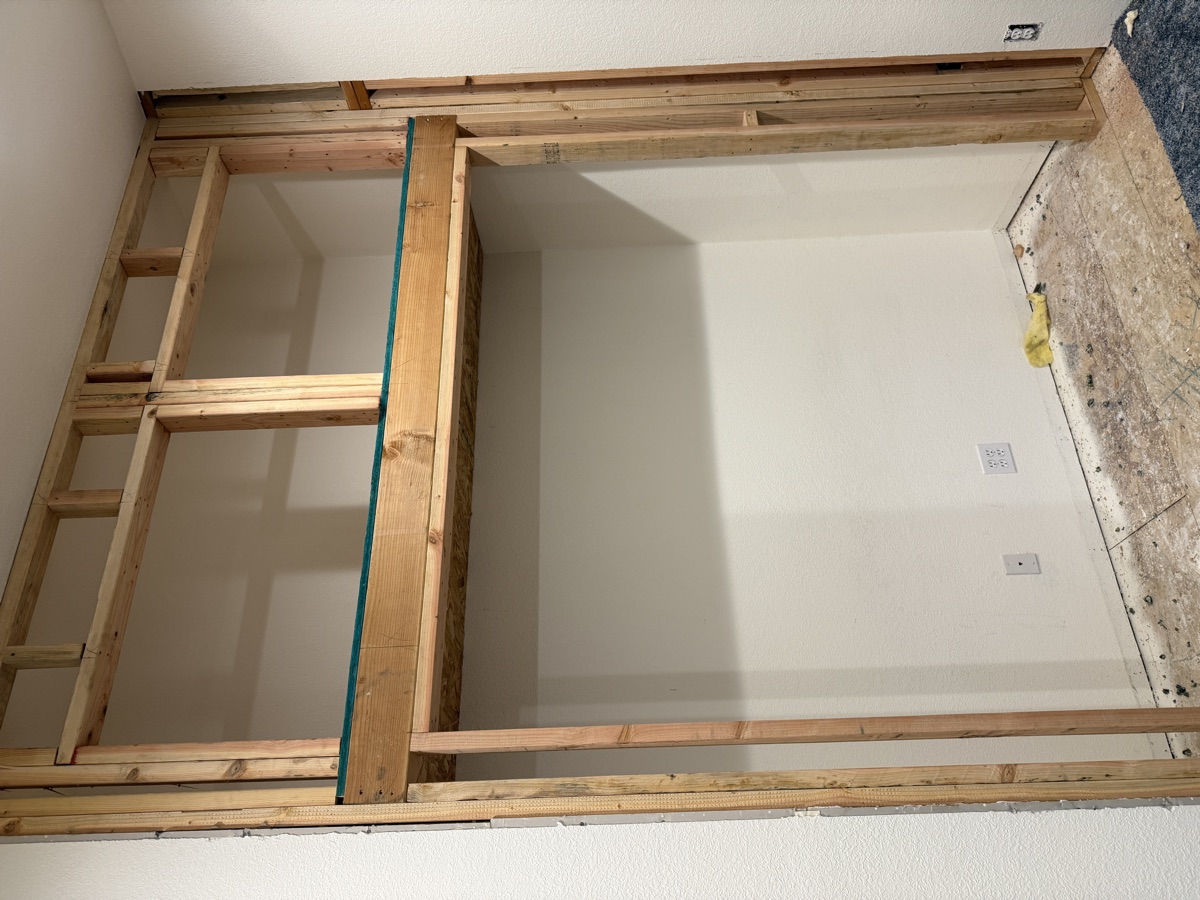
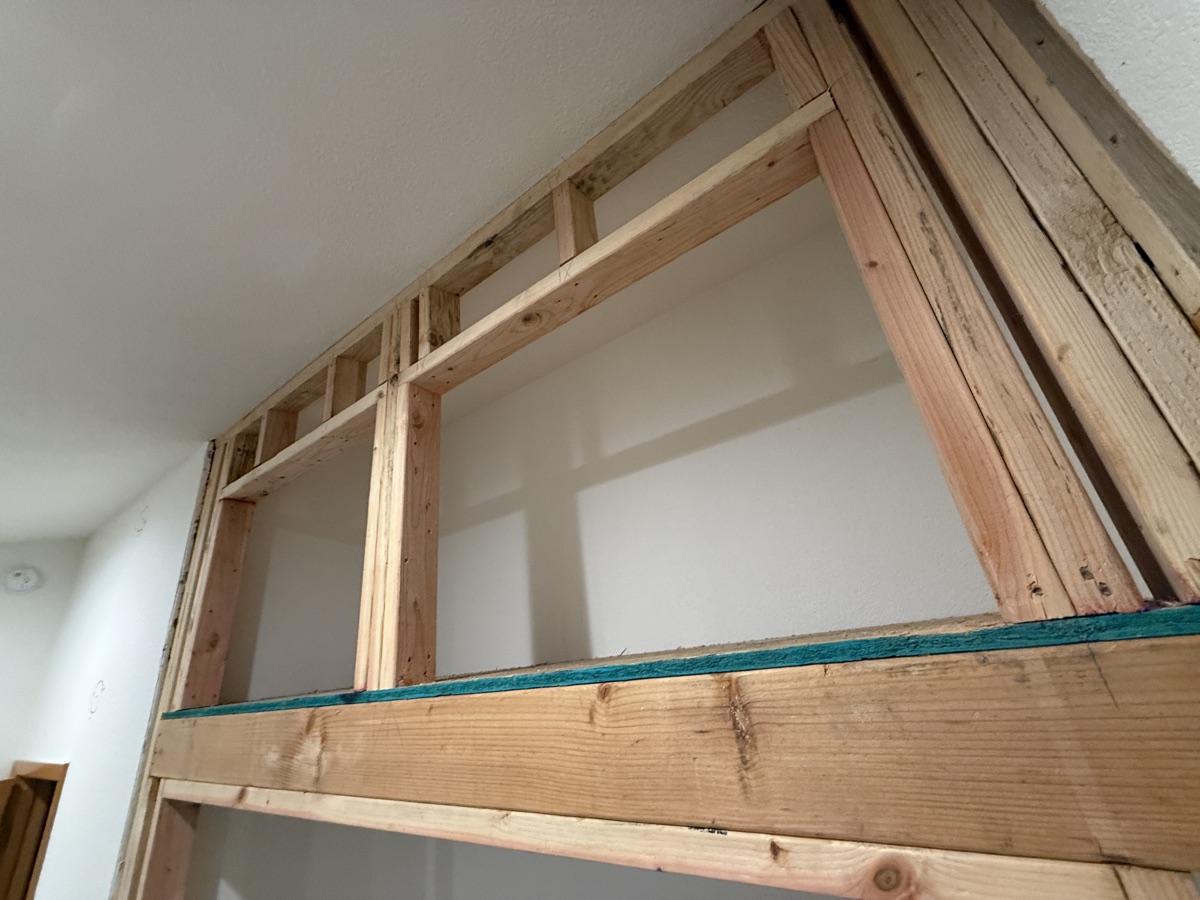
- Royal Way remodel · bedroom, hallway & walk-in closet · 33 photos